I got my hands on a 1990 Data East Batman Pinball that was in bad shape and refurbished it
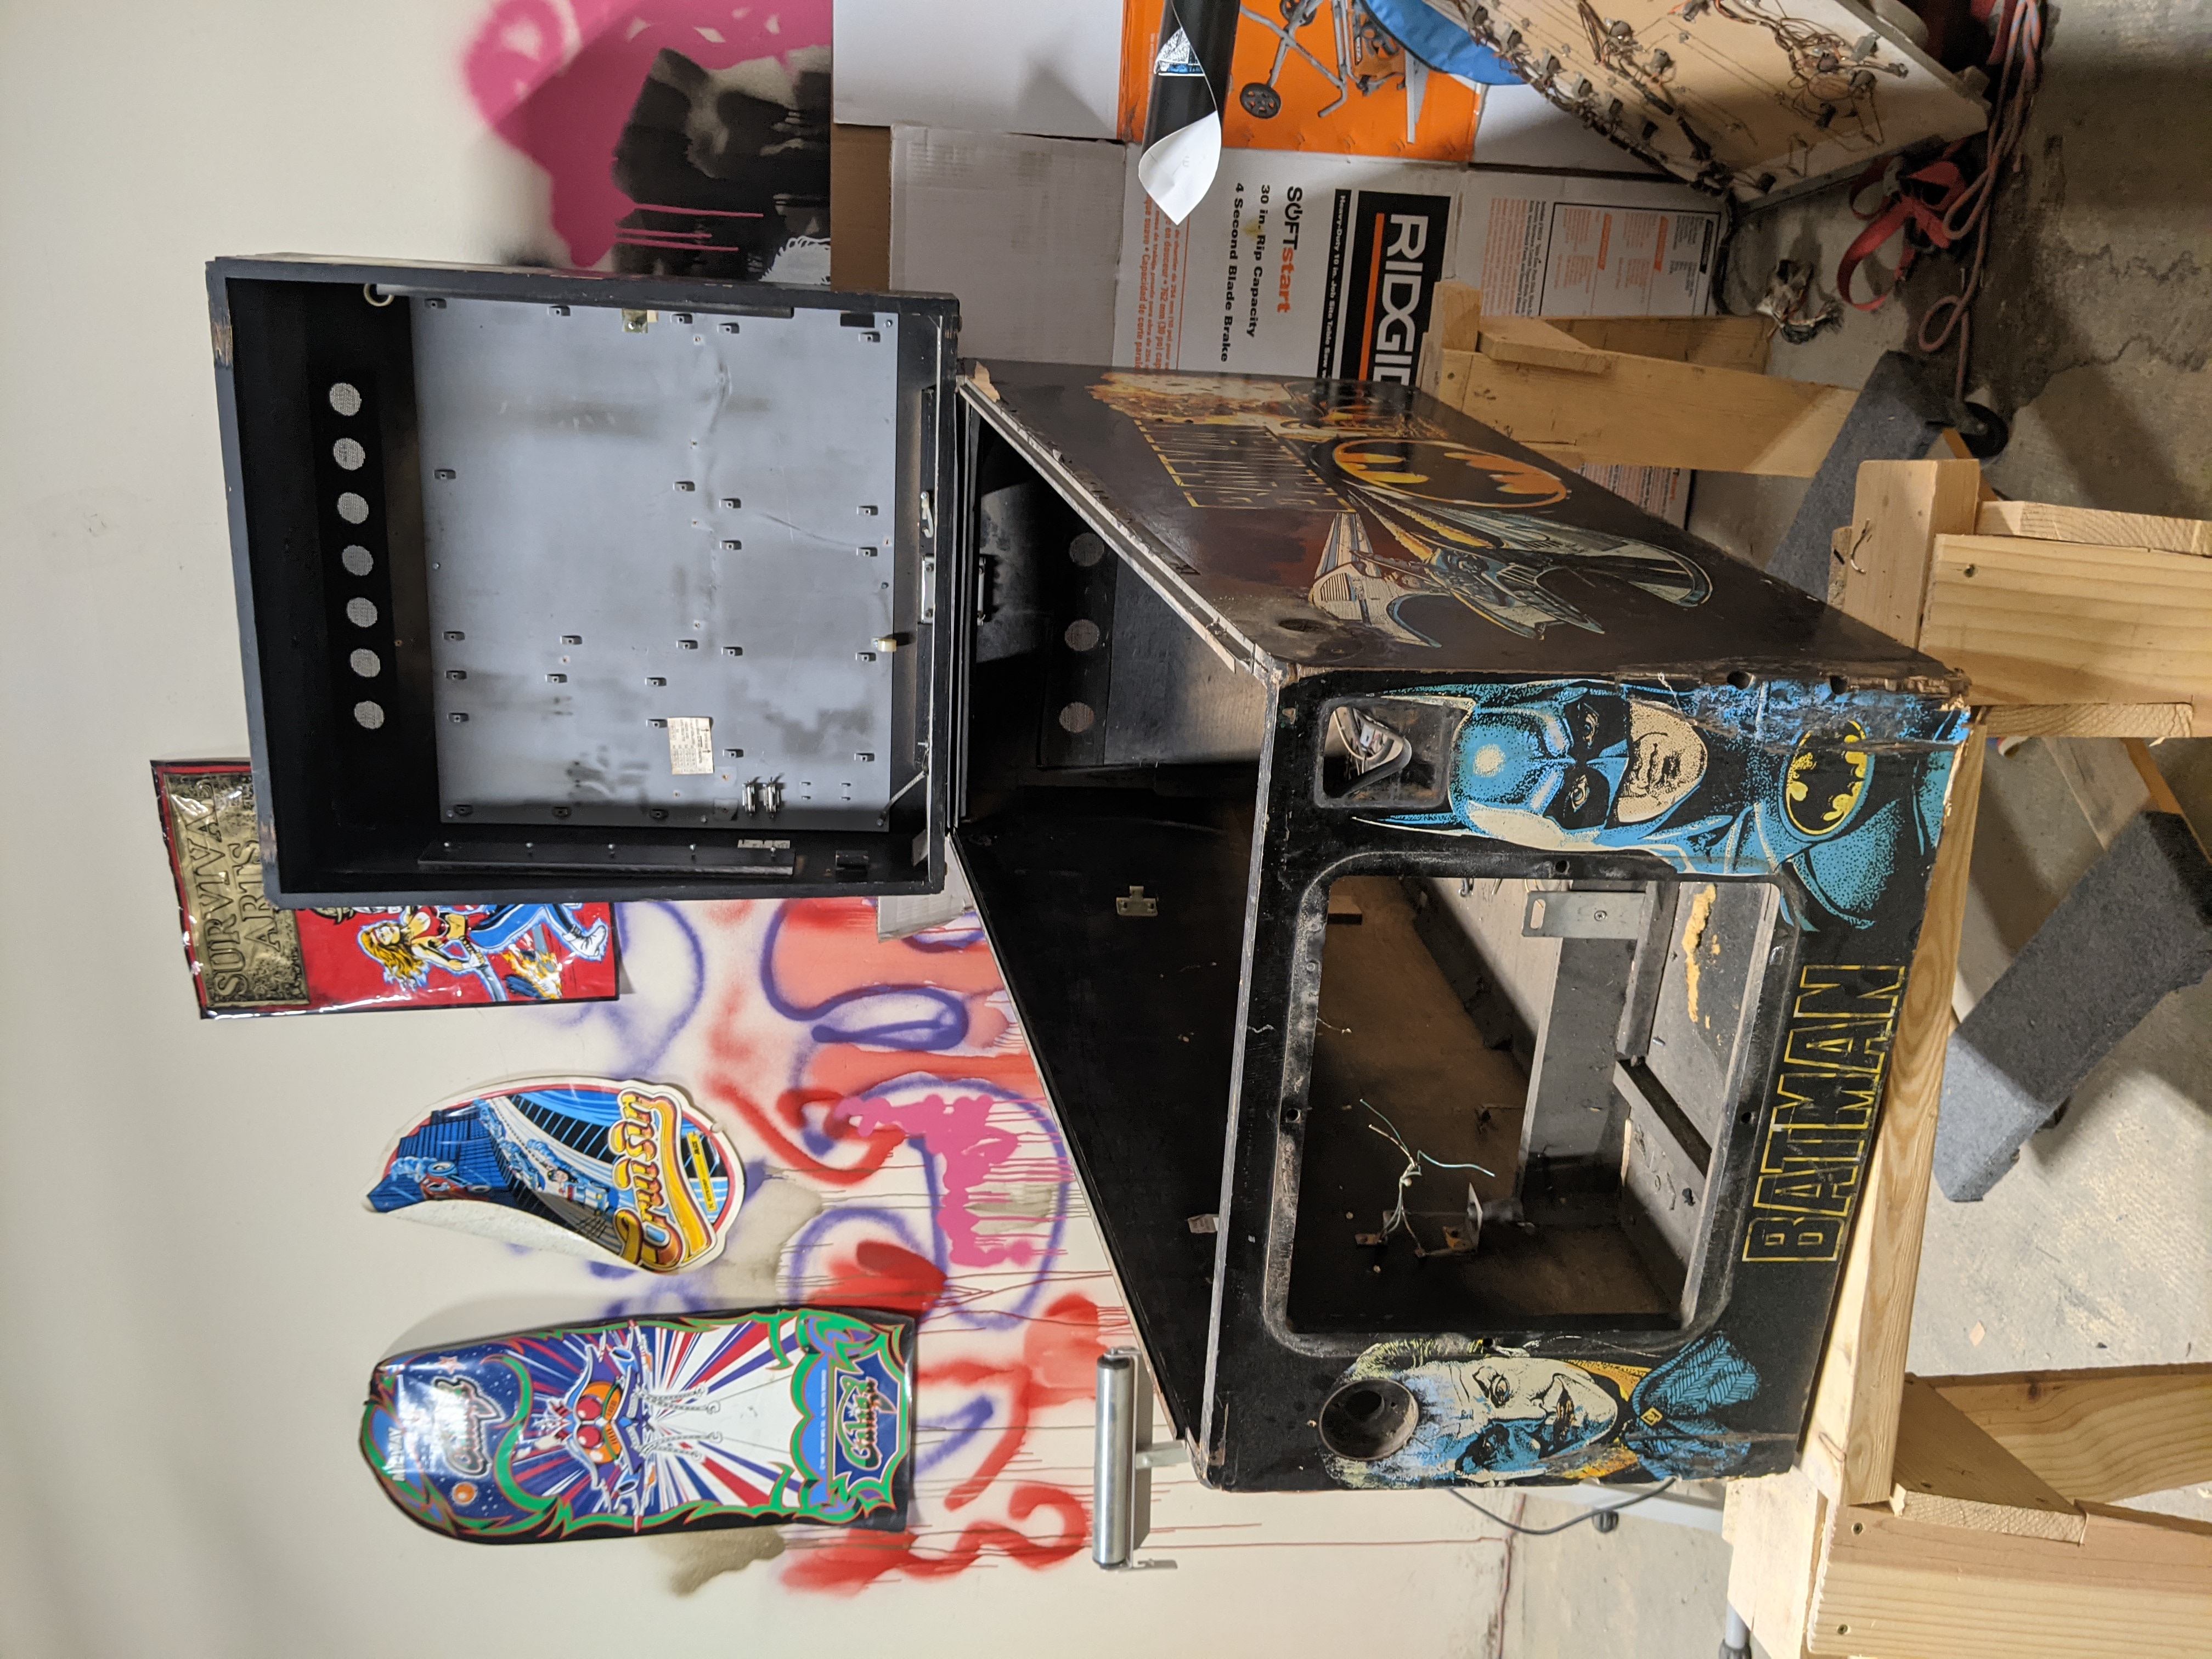
About a year ago I got my hands on a Batman pinball that was in very bad shape and gutted for $300 (an unheard of price even for that shape).
I decided to go all in and just wing it.
I removed the legs and bought new Williams/Bally black legs from pinballlife.com
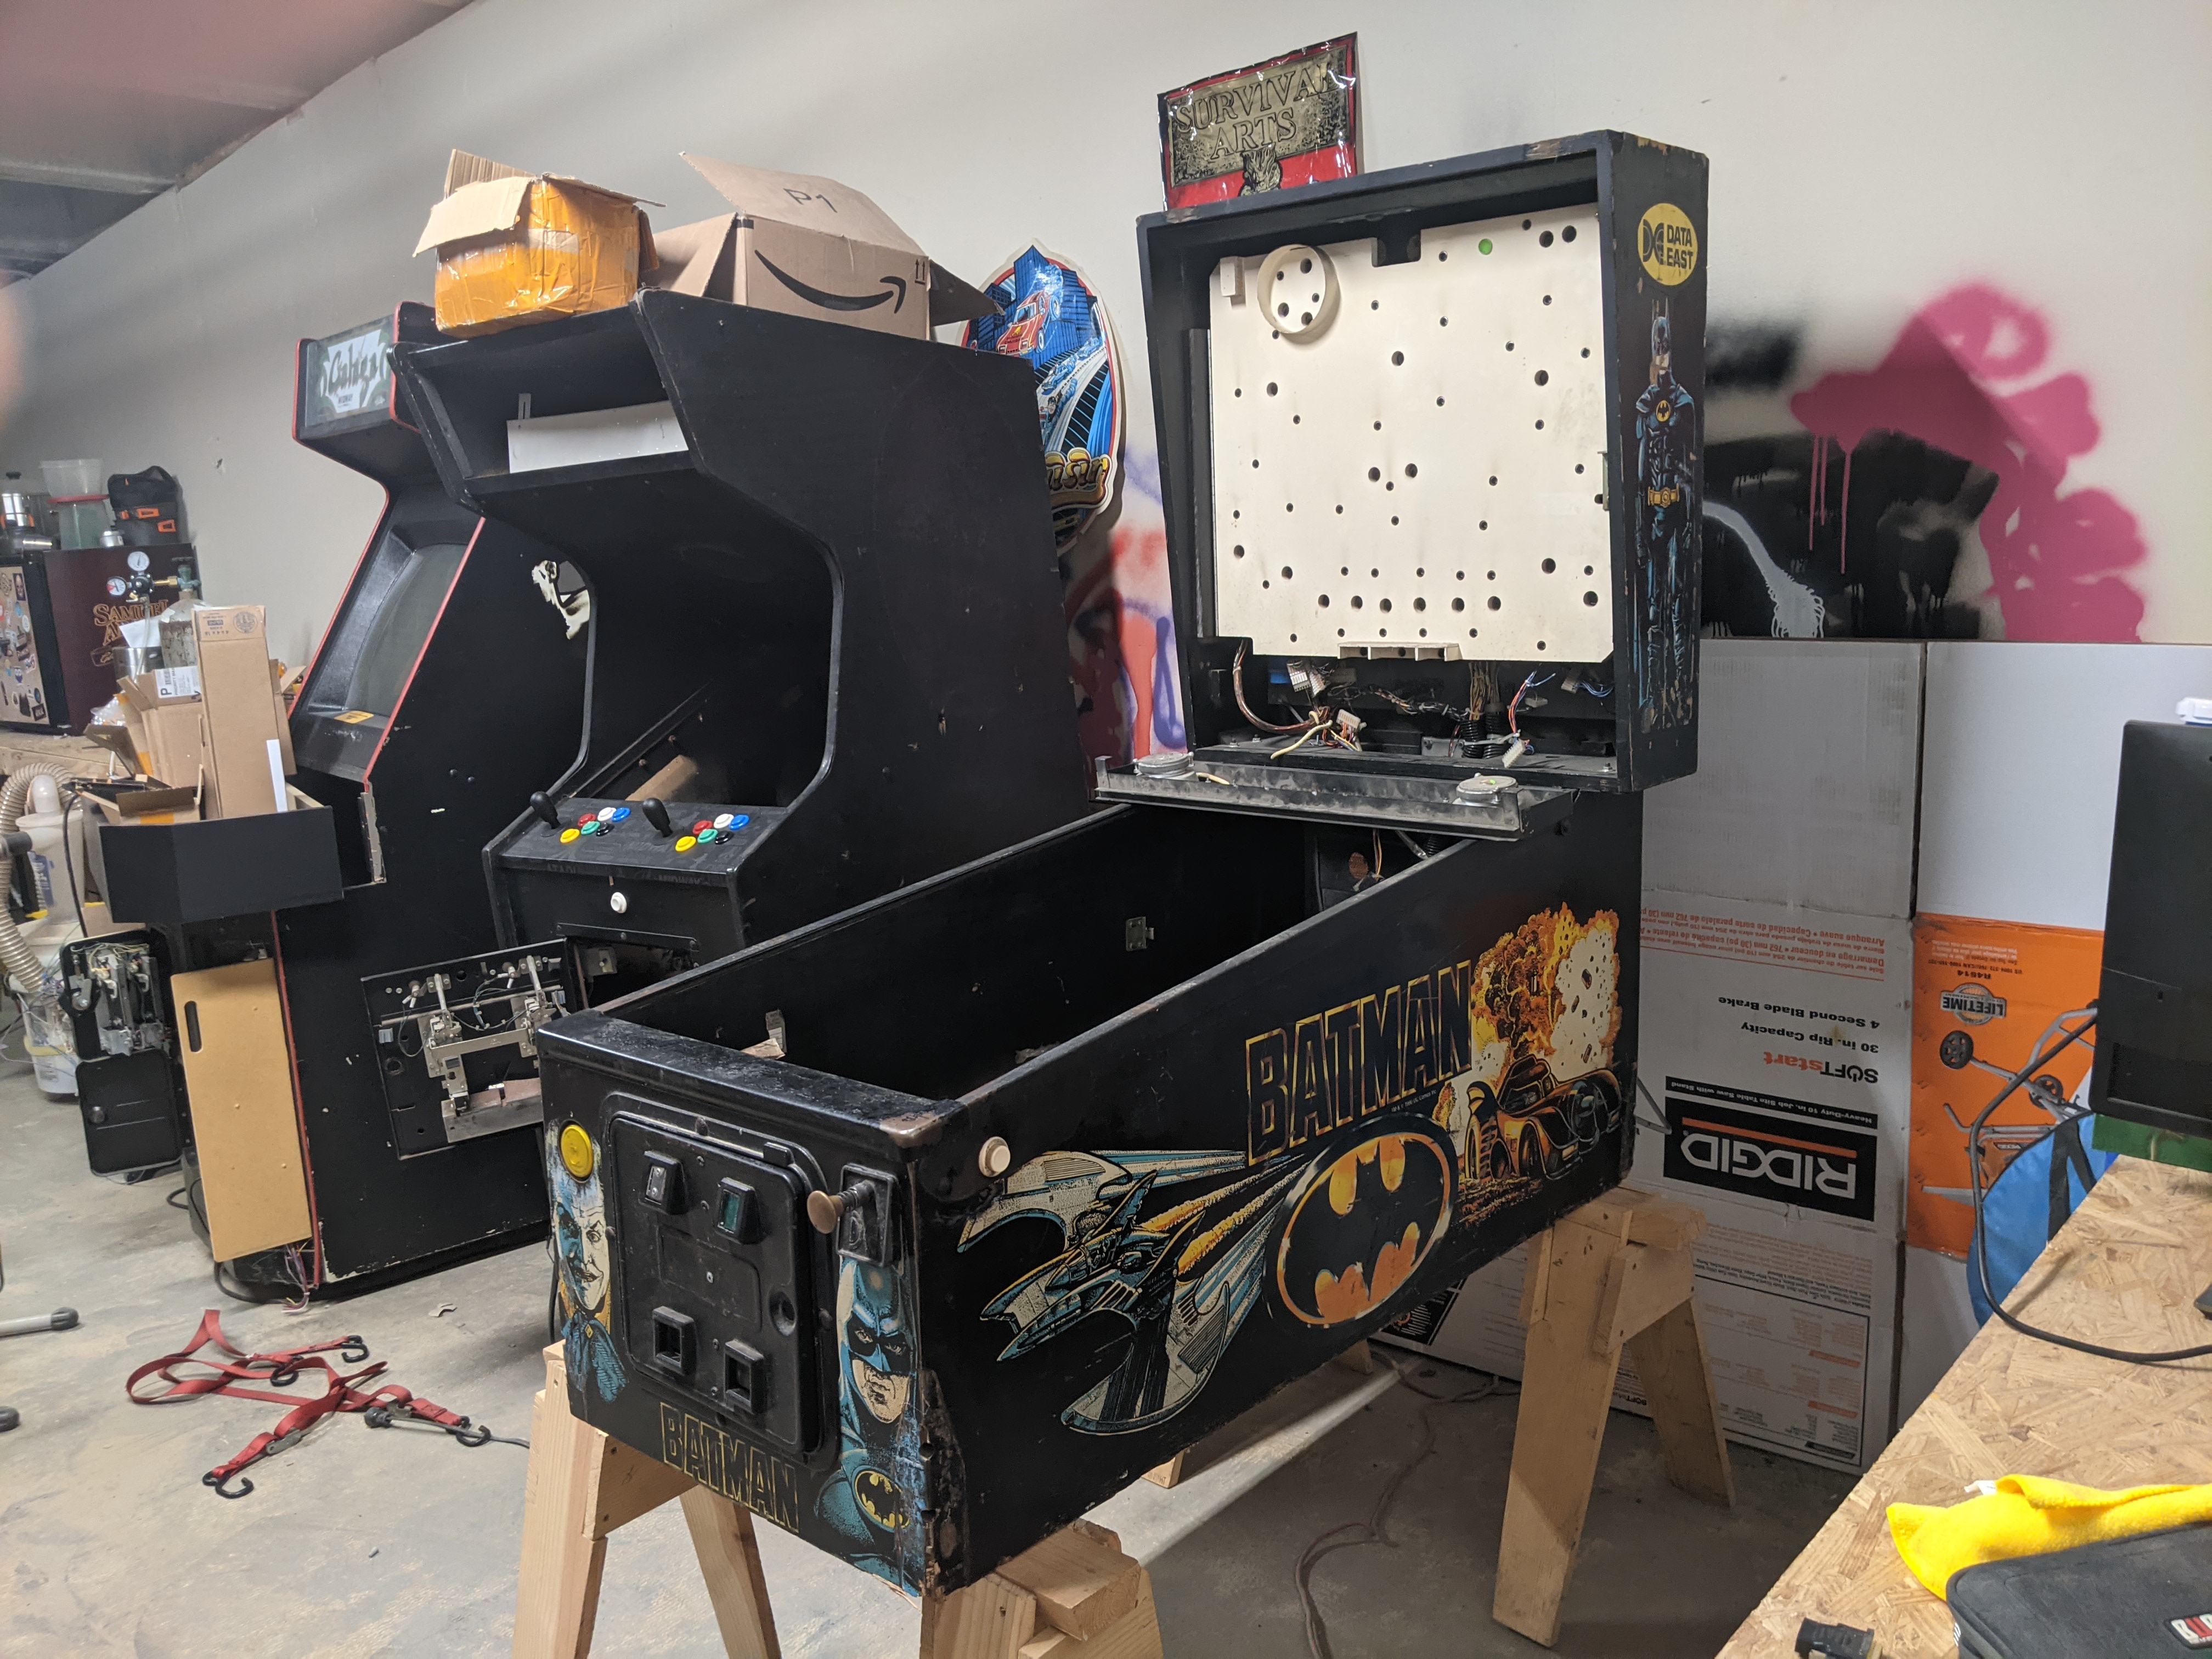
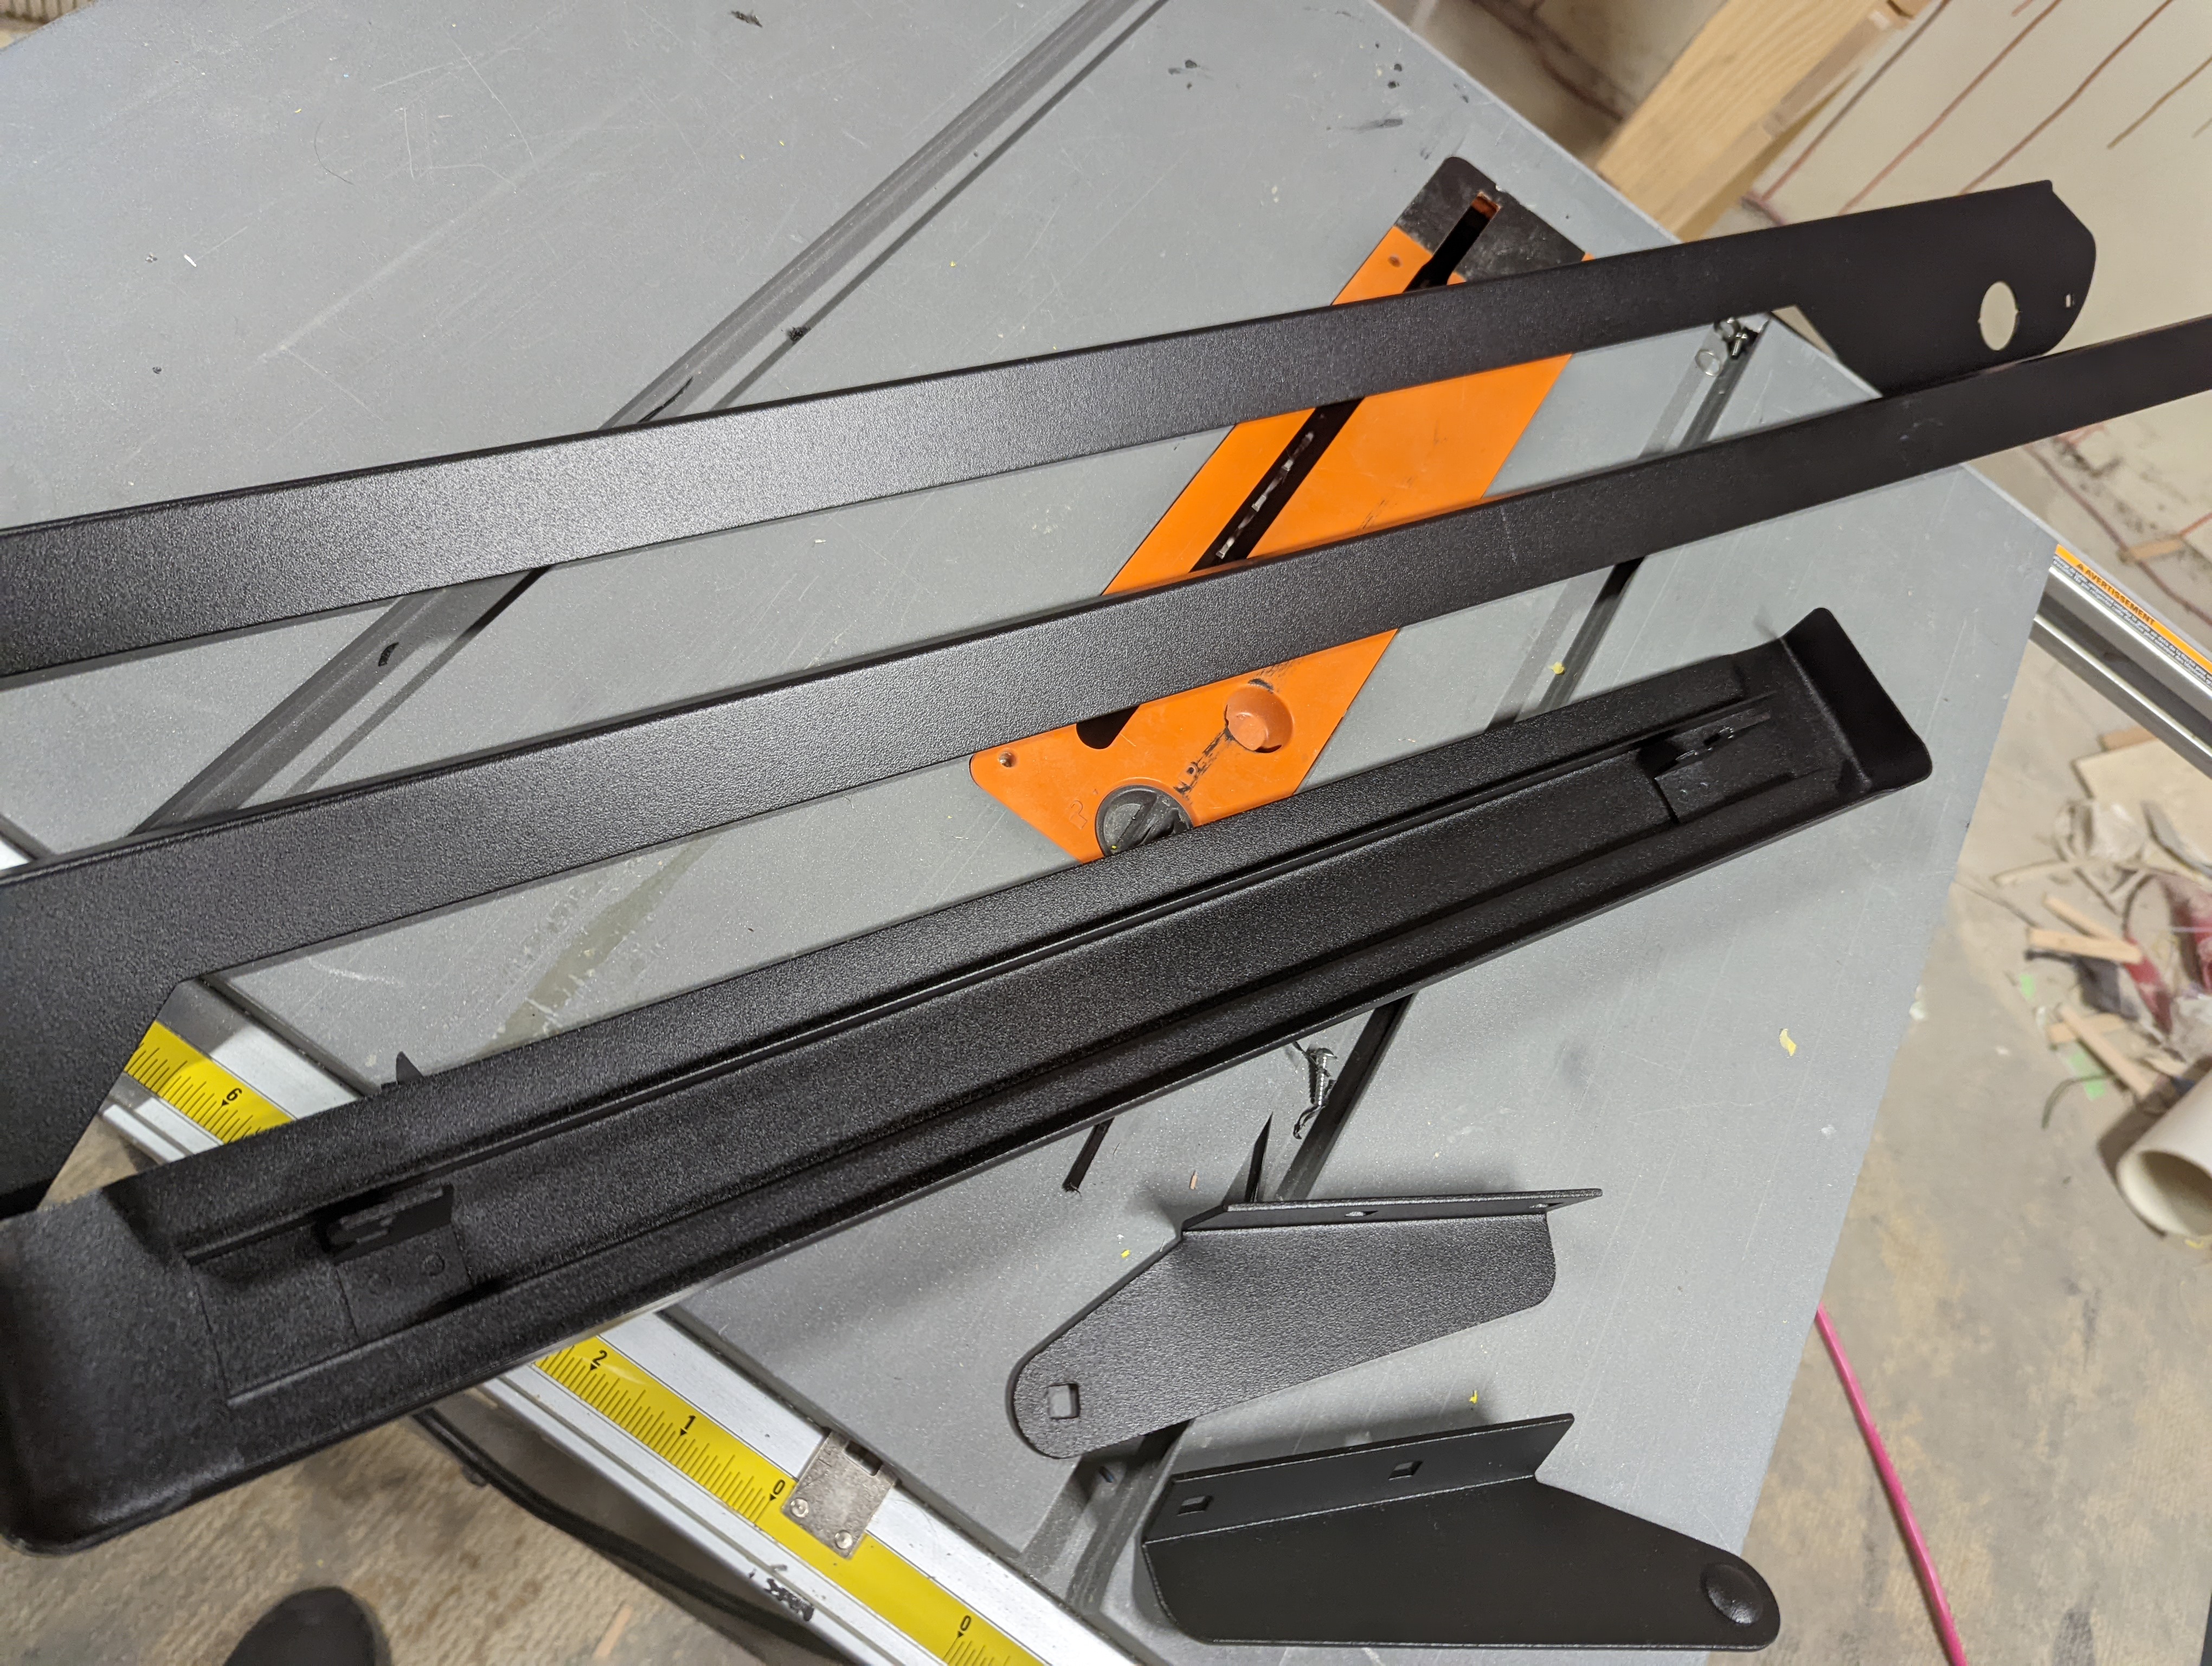
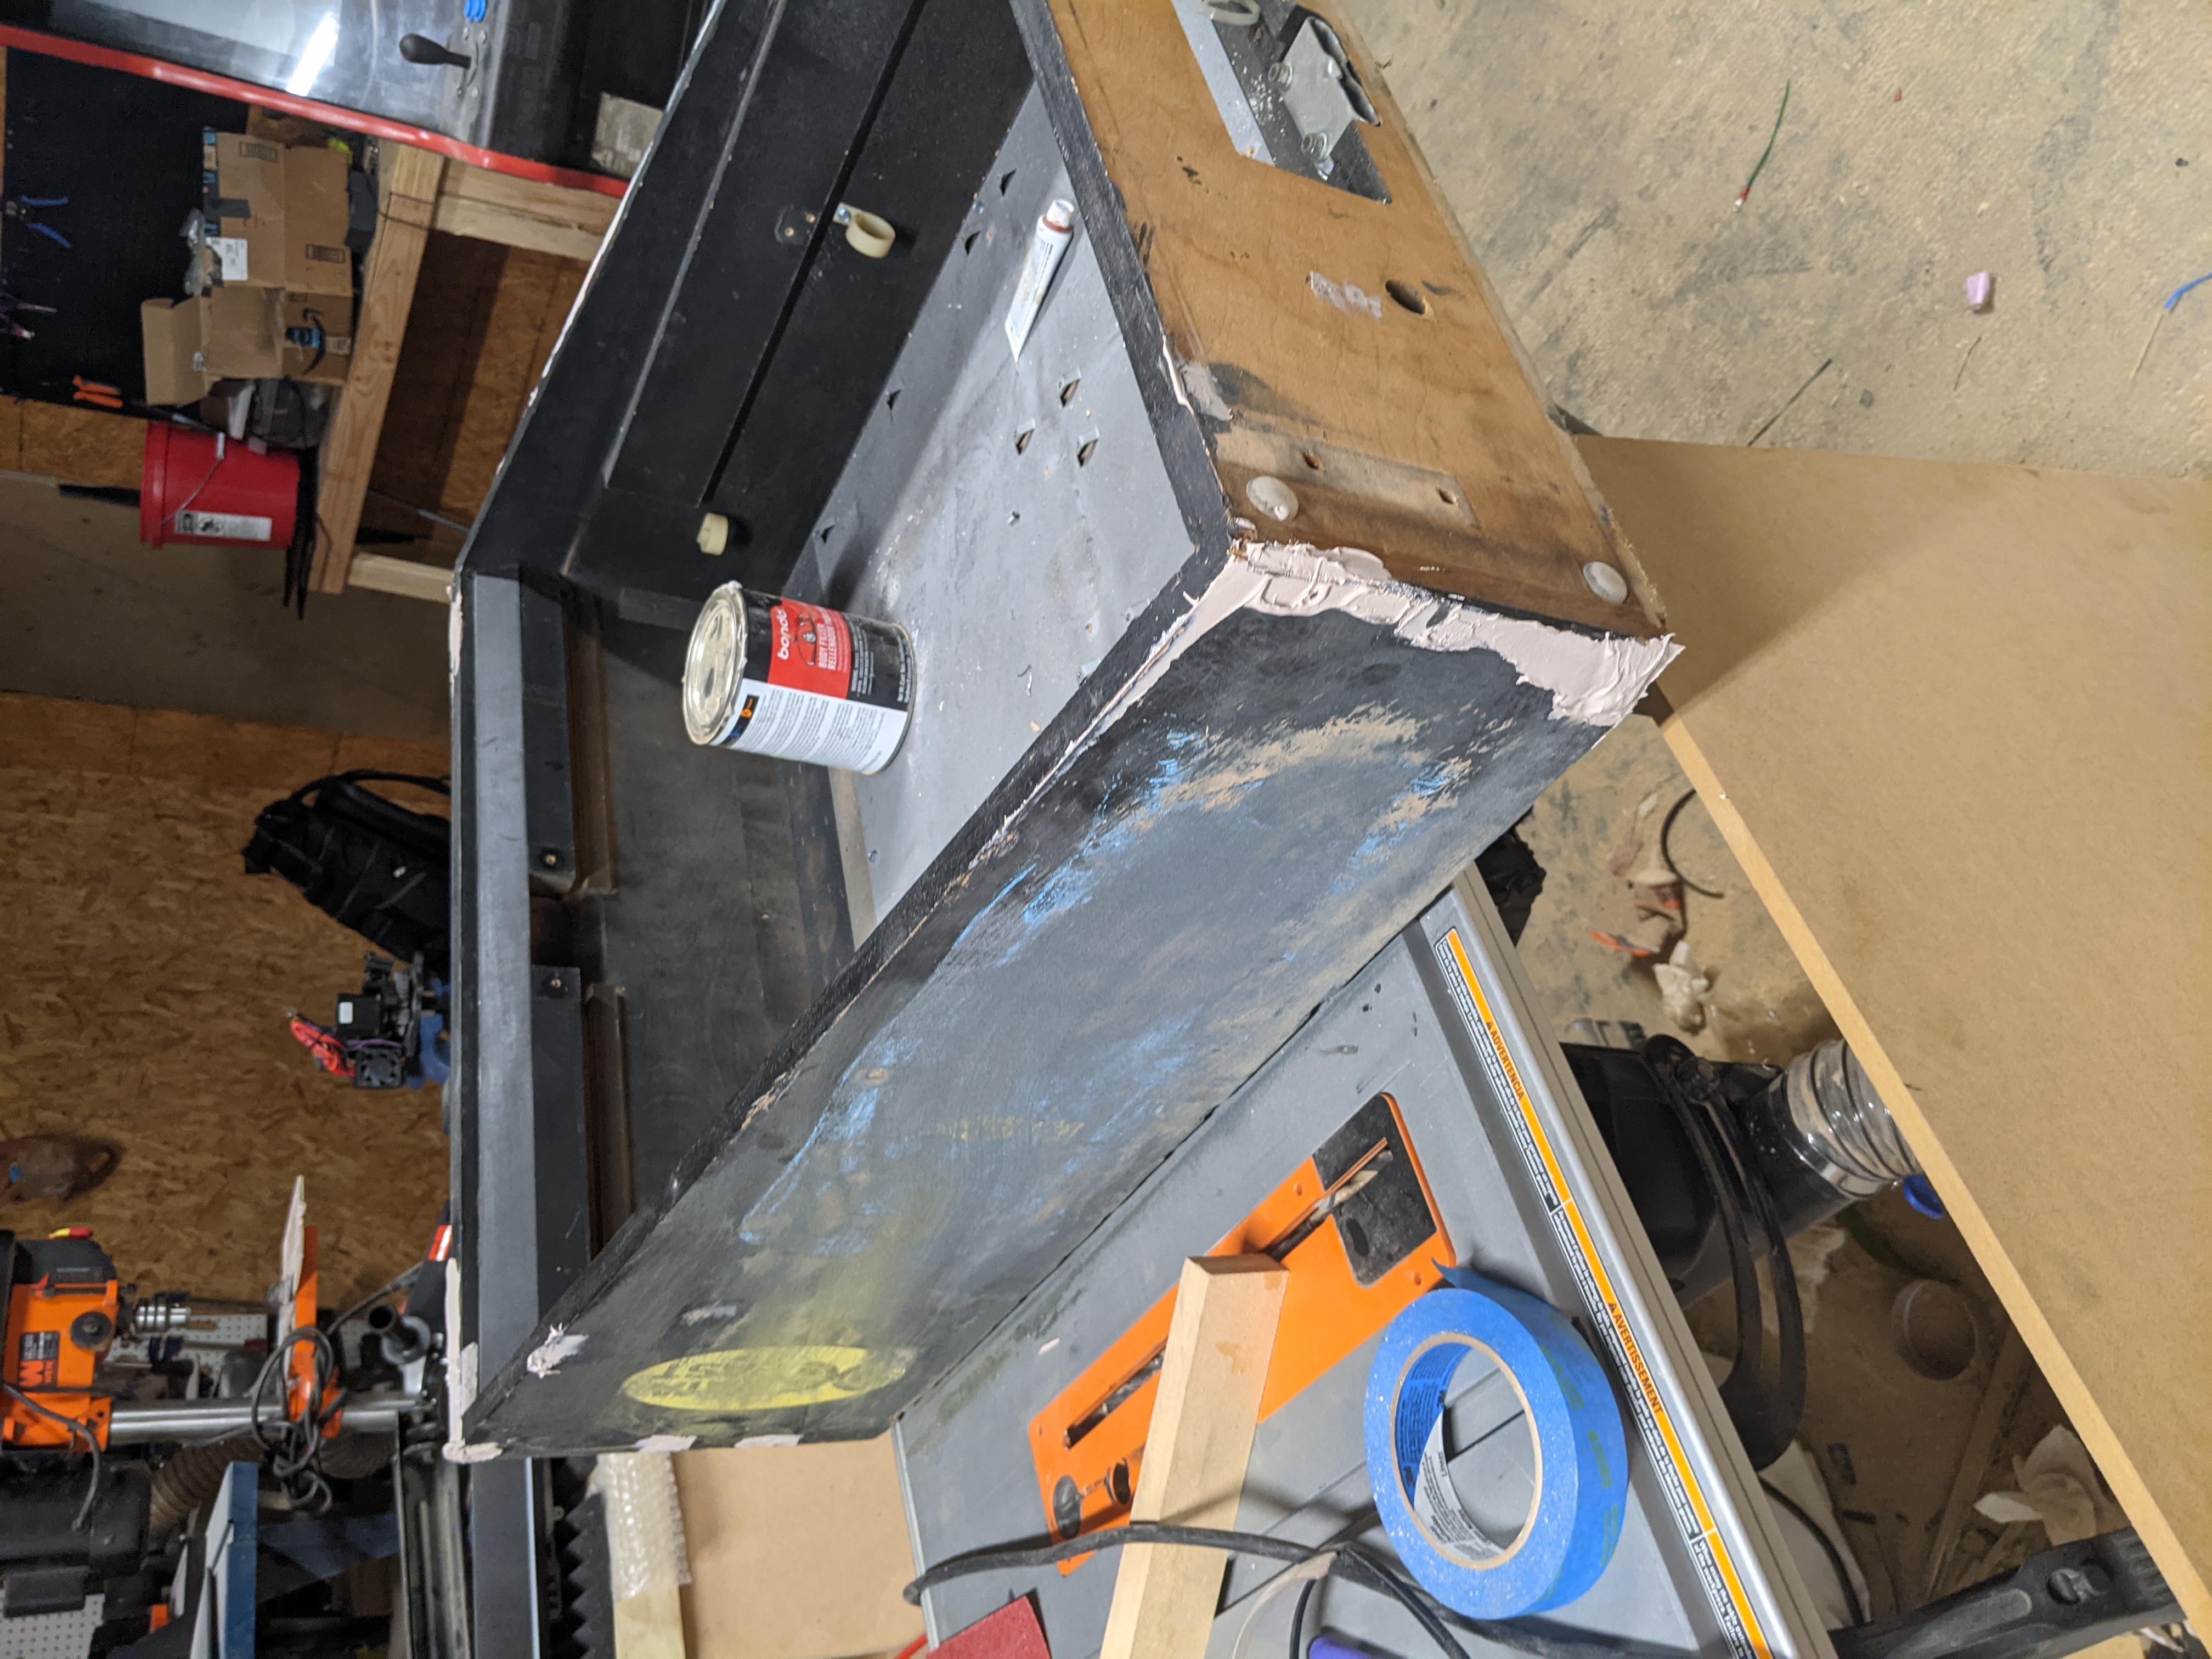
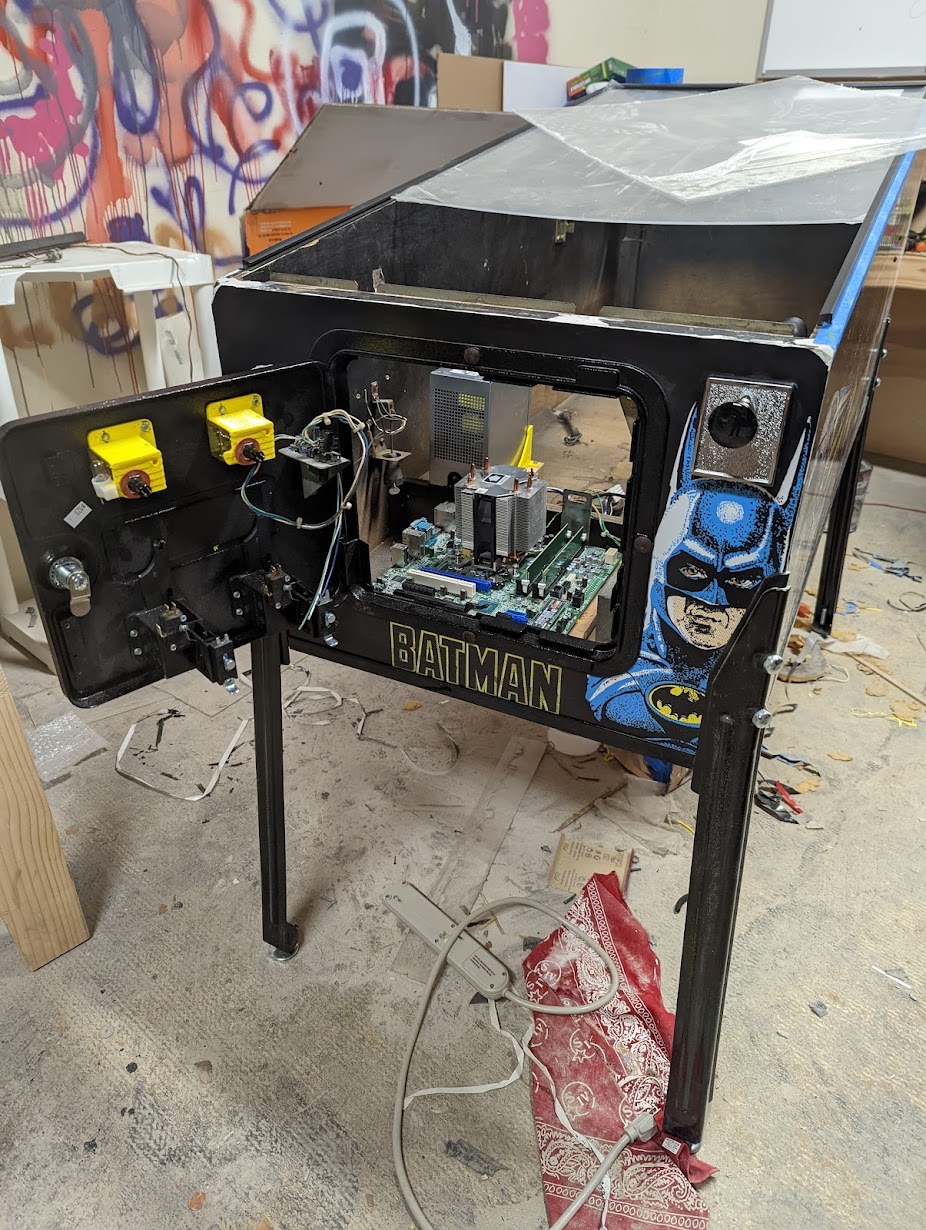
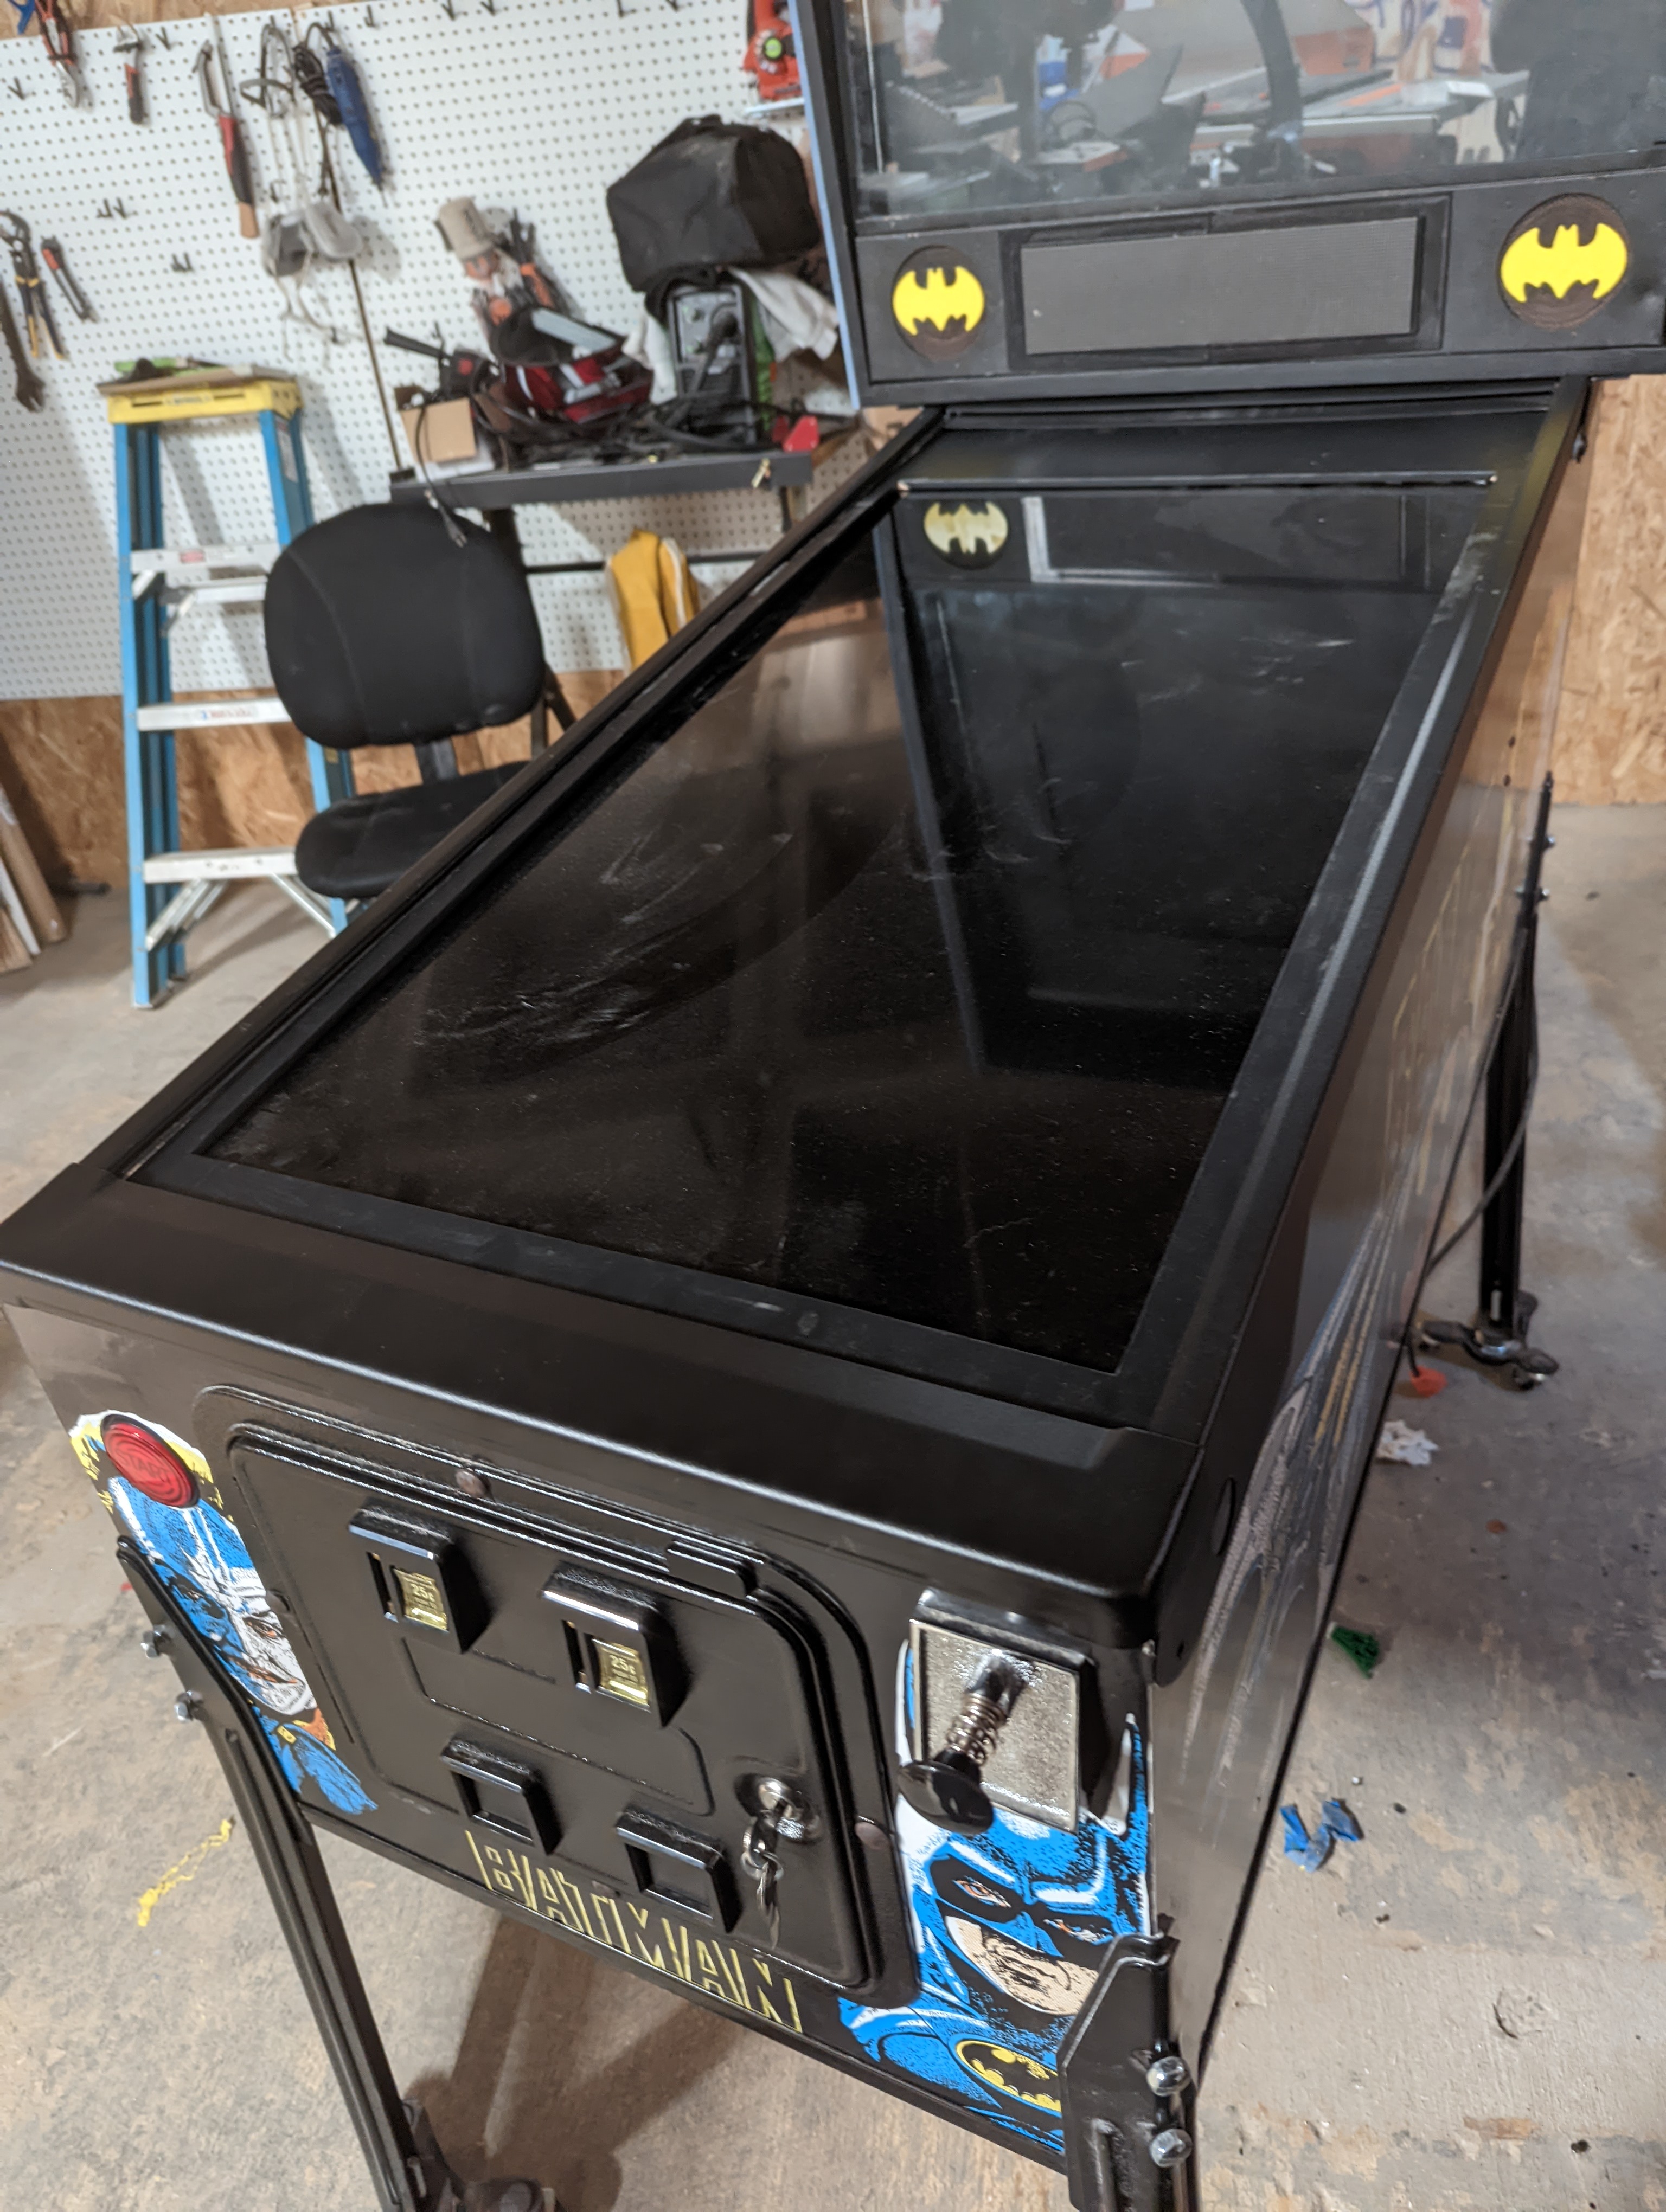
You can see the shape its in generally. The wood is complely broken on every edge. The rails and lockdown bar were rusted but in great shape. I contacted someone locally that does metal work and got them brushed then powder coated. They came out looking brand new.
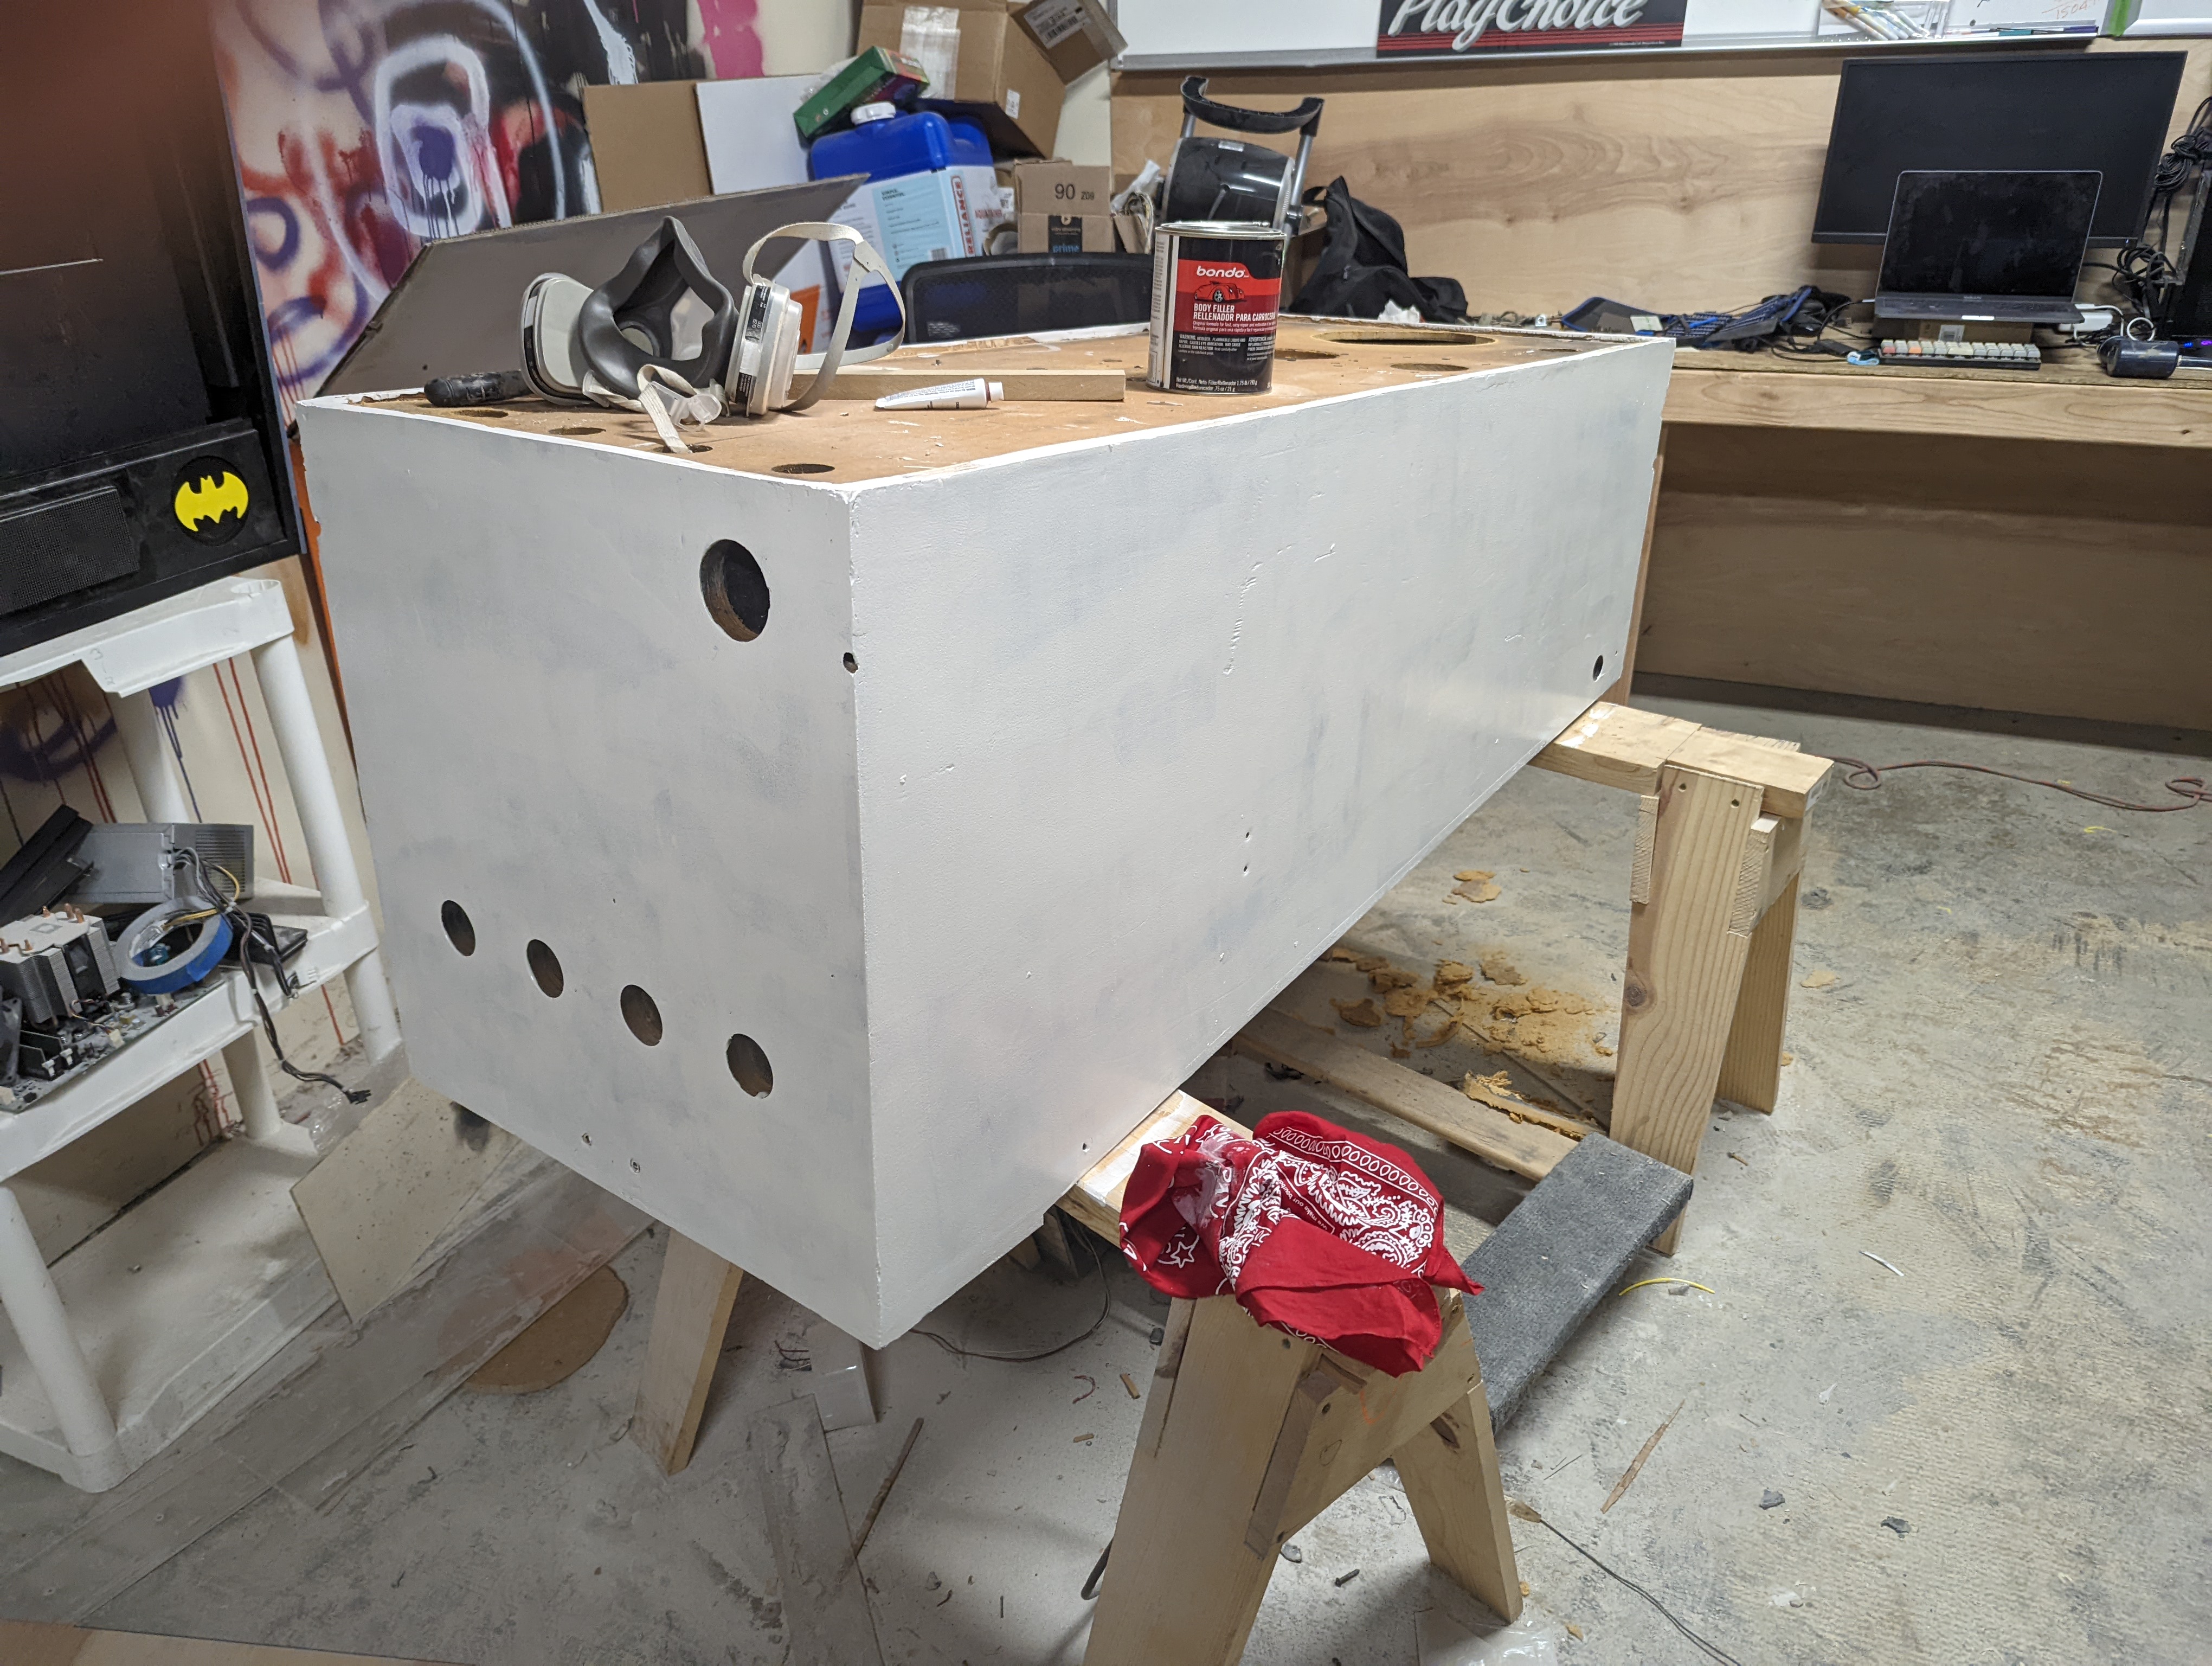
Next was the body work
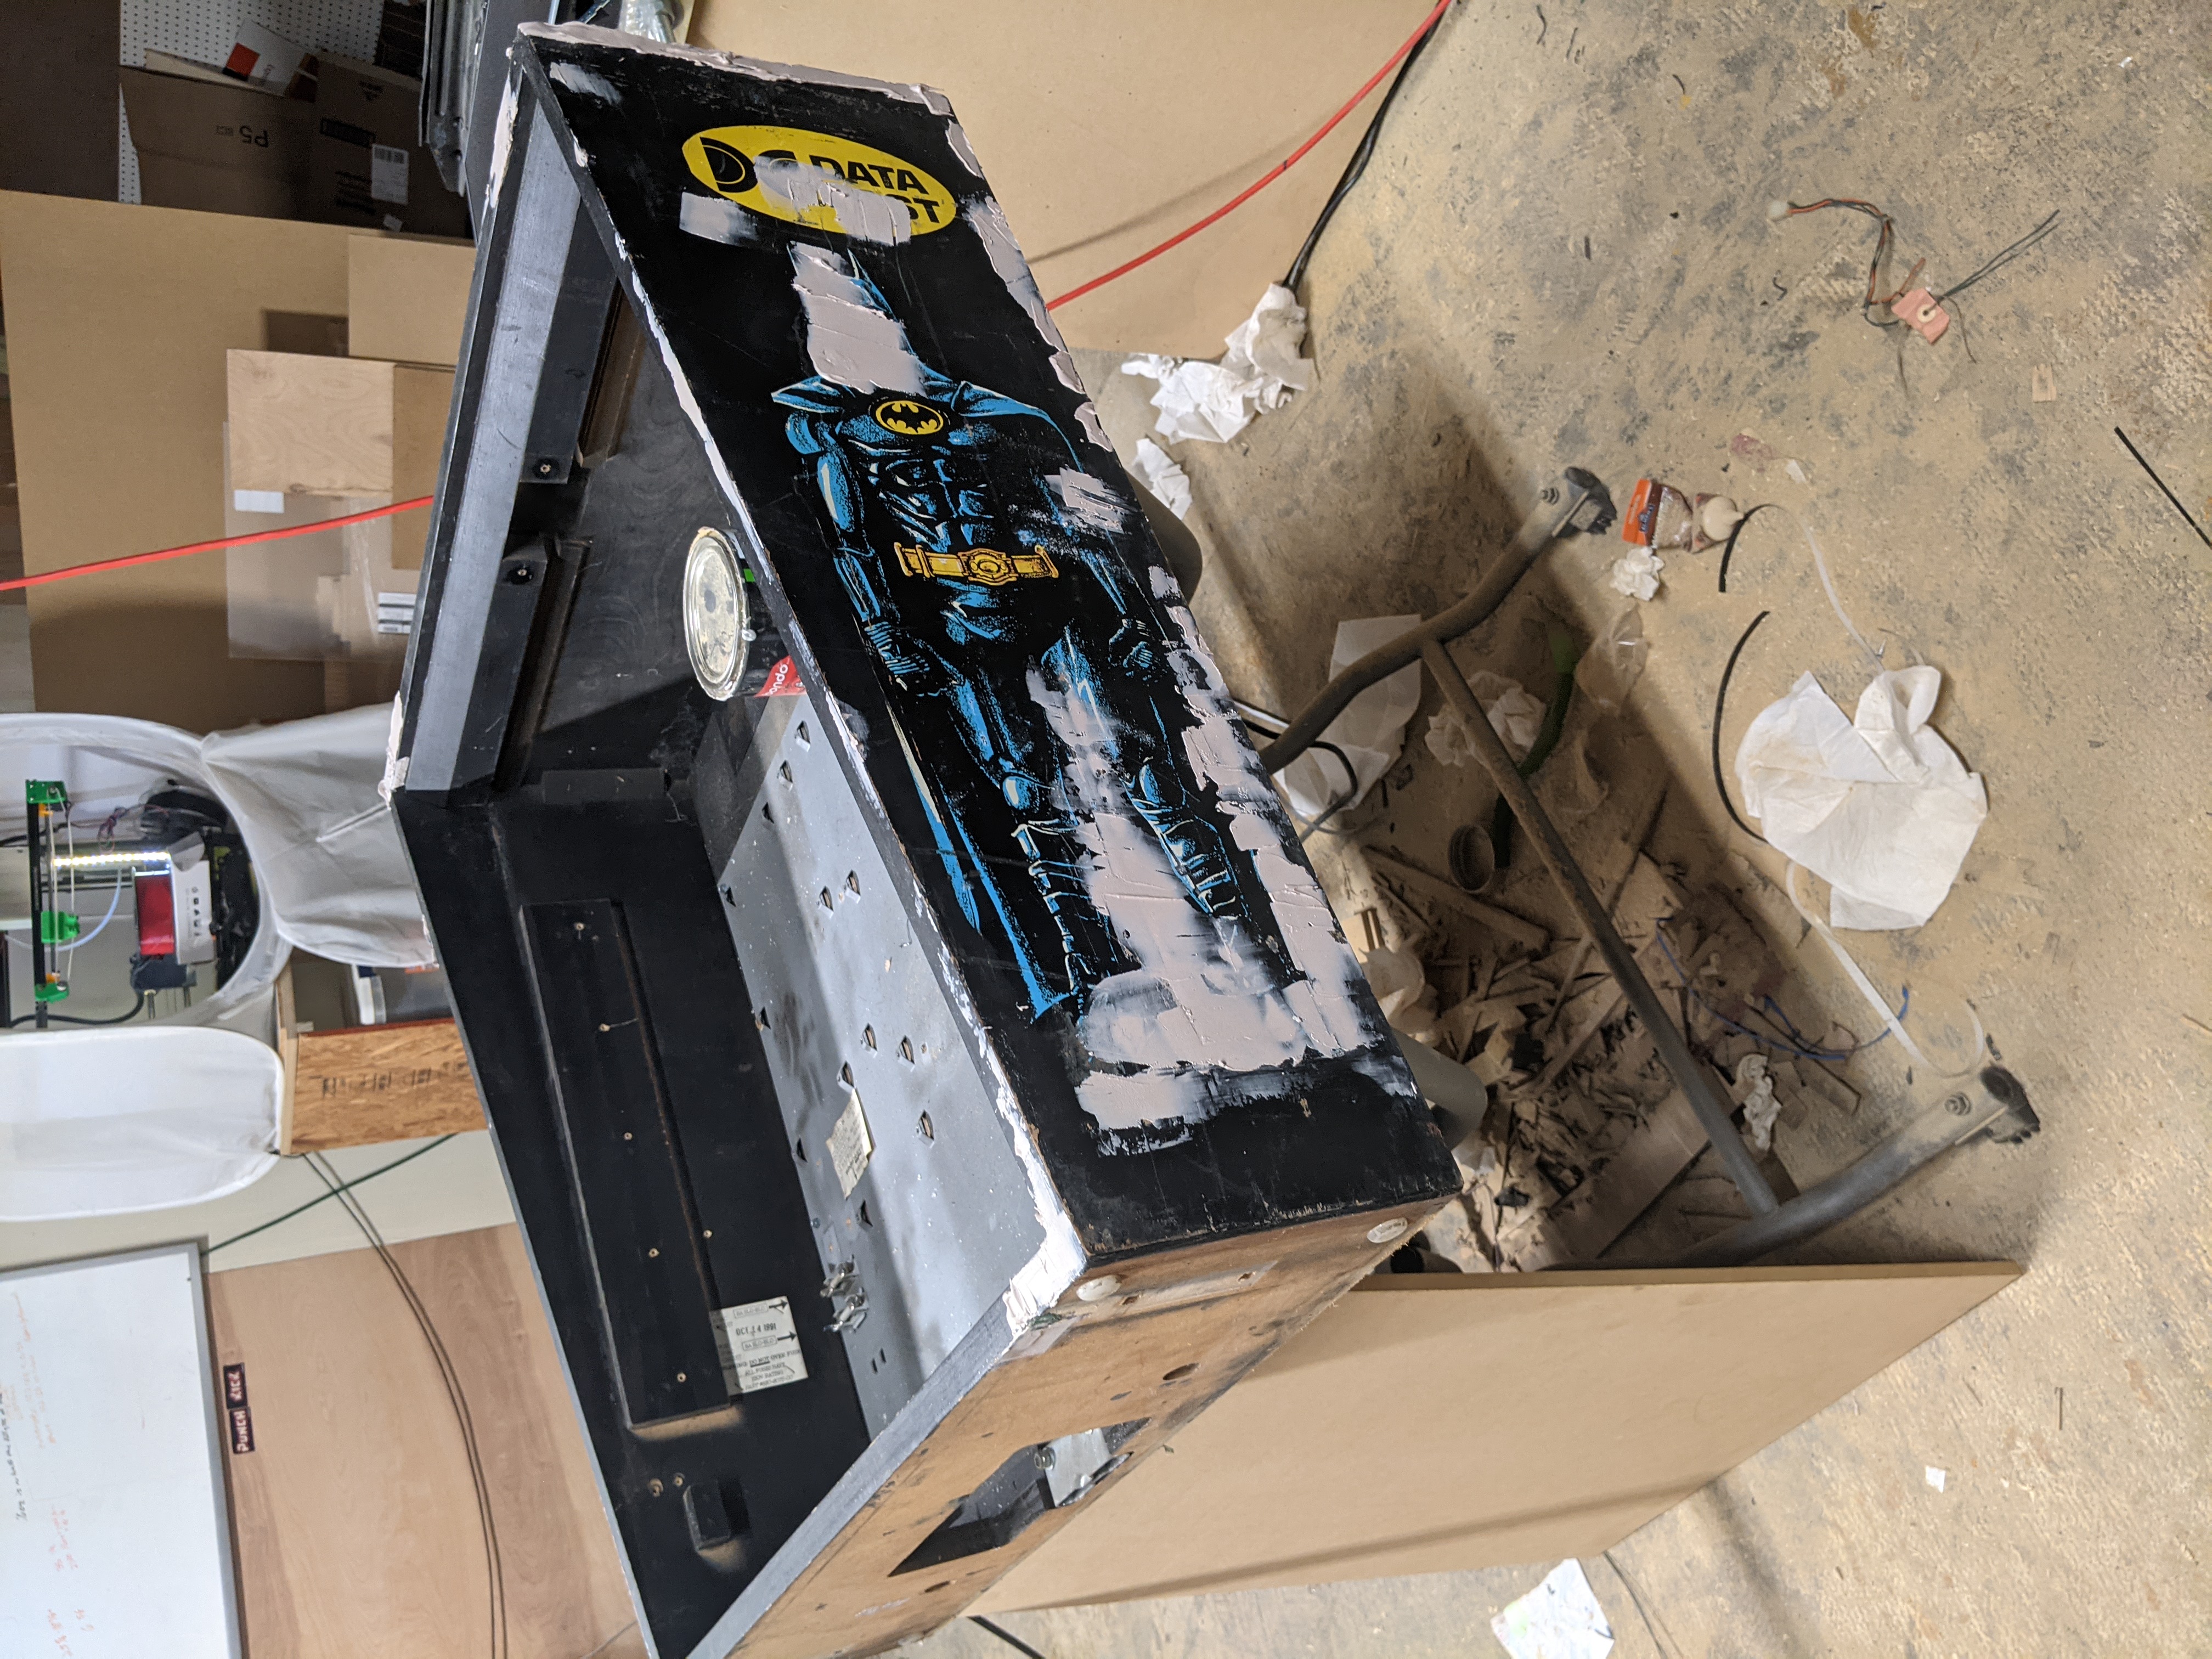
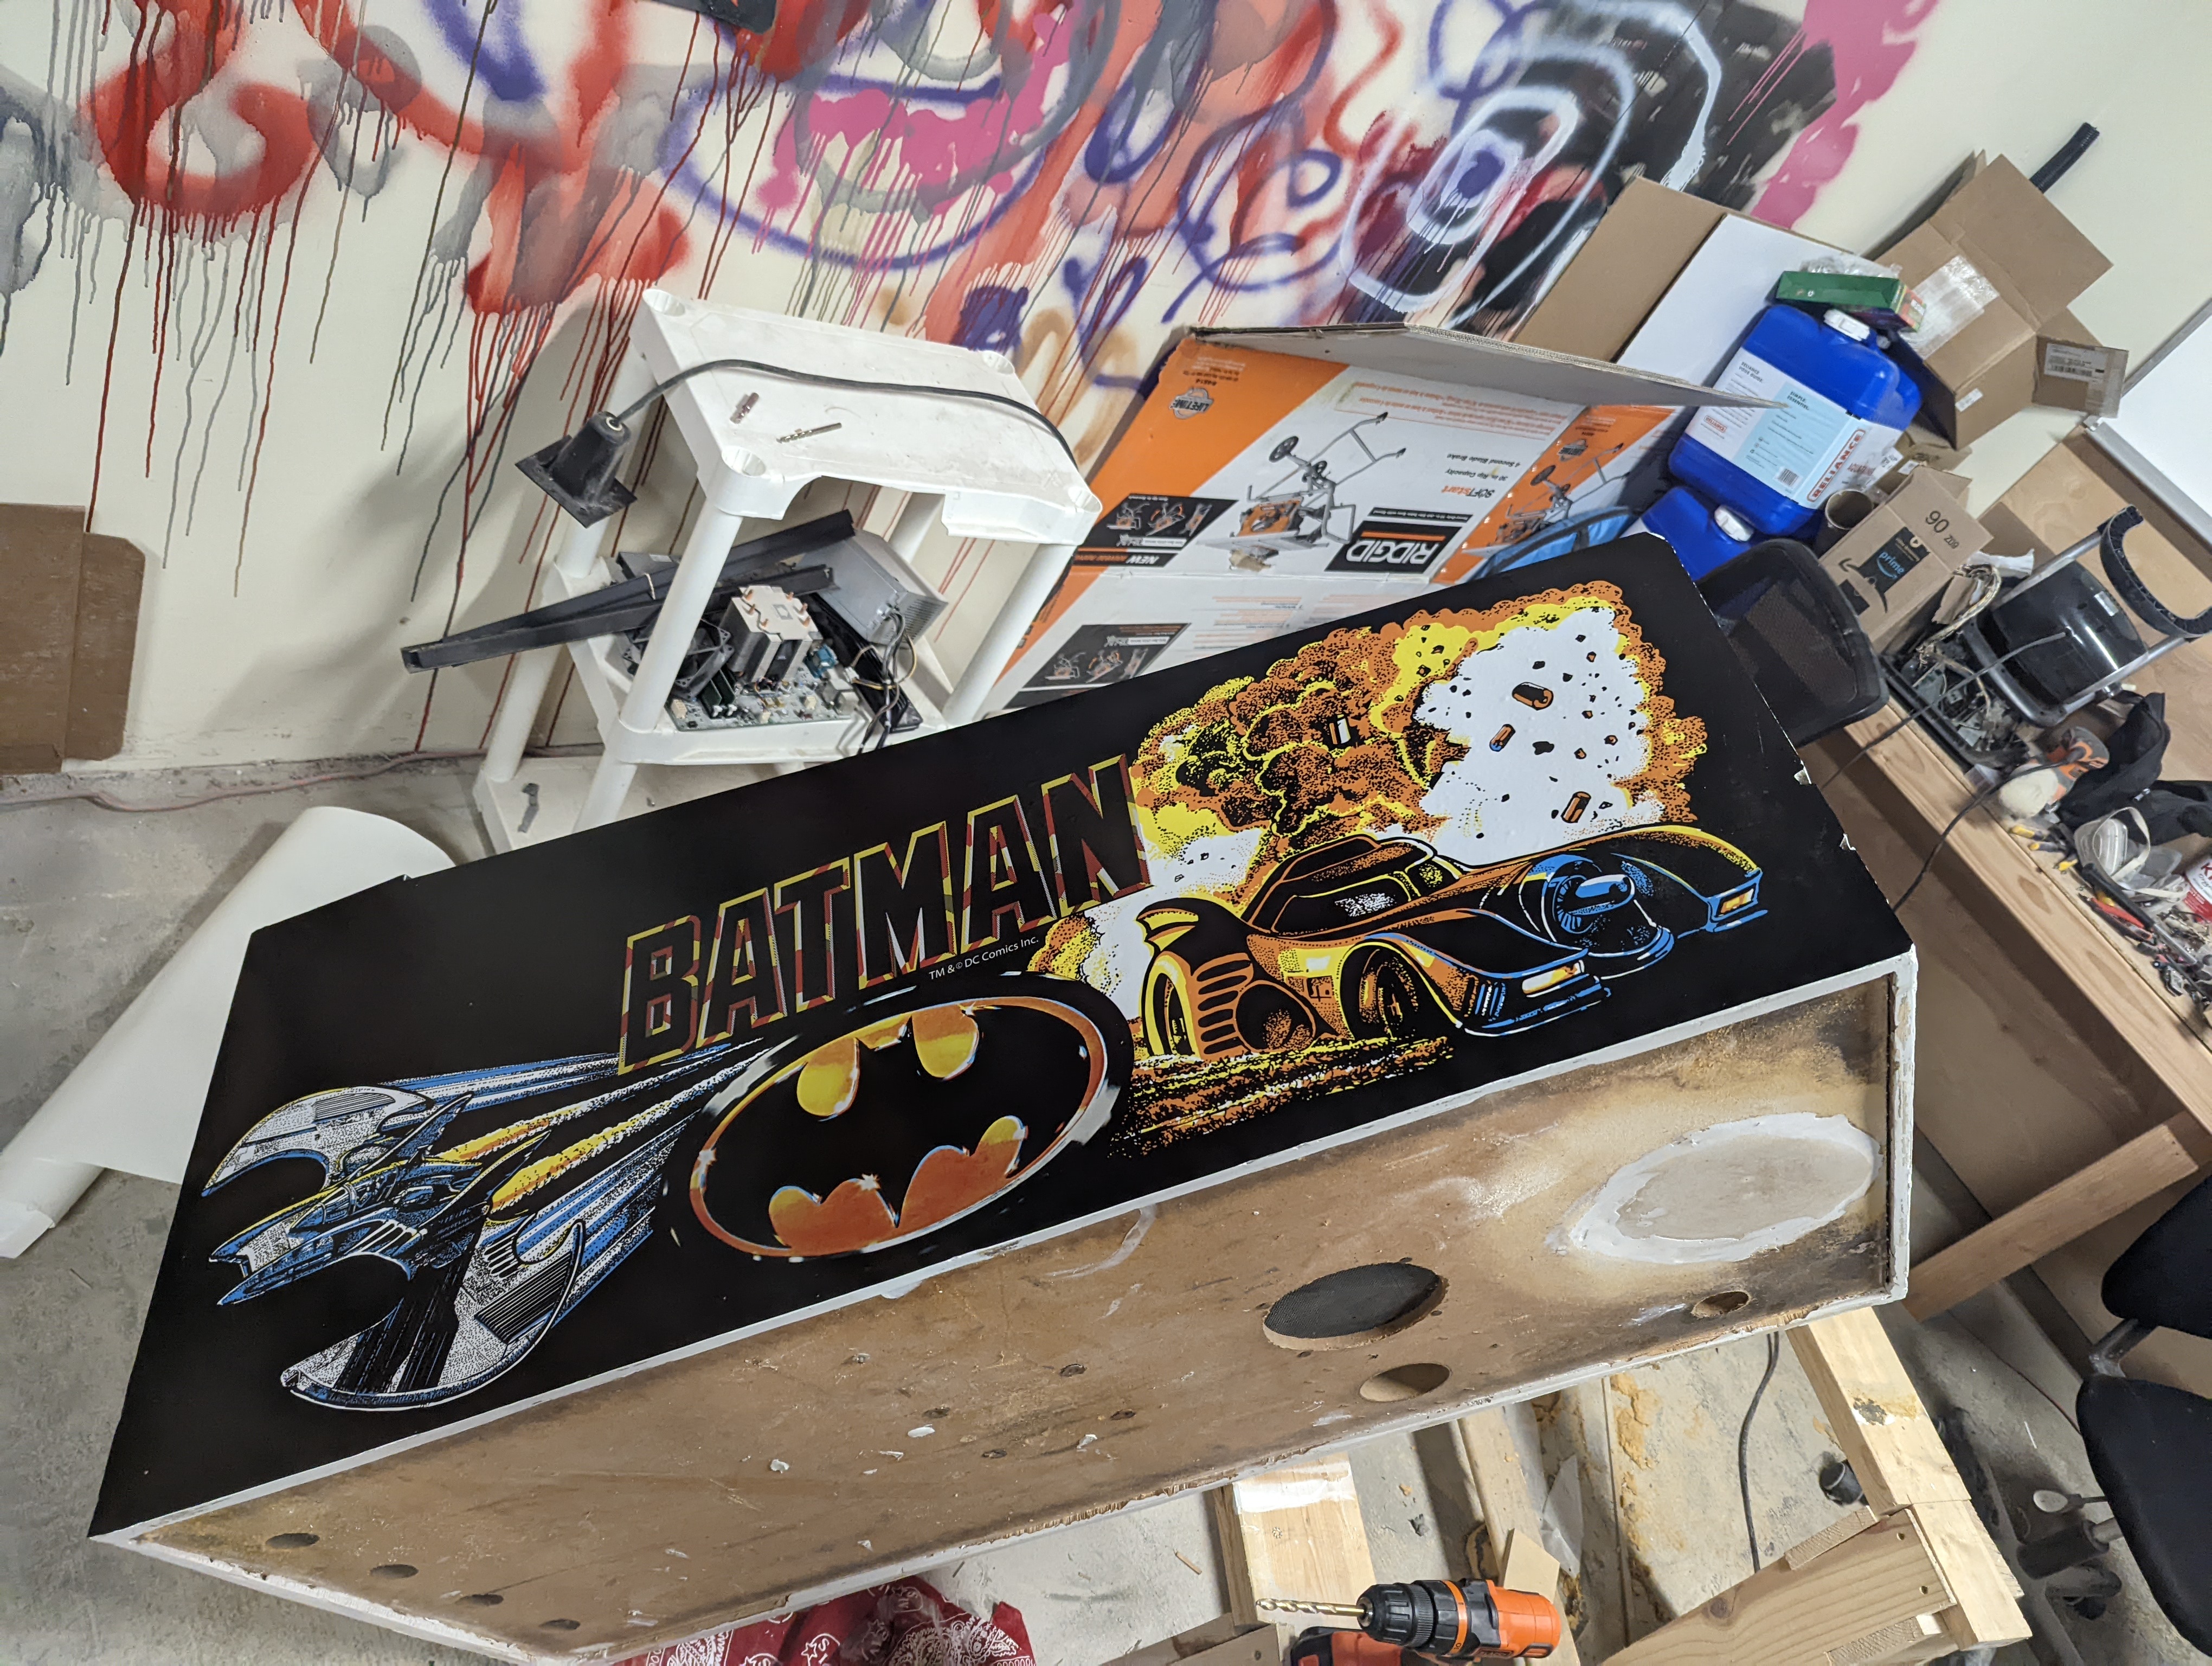
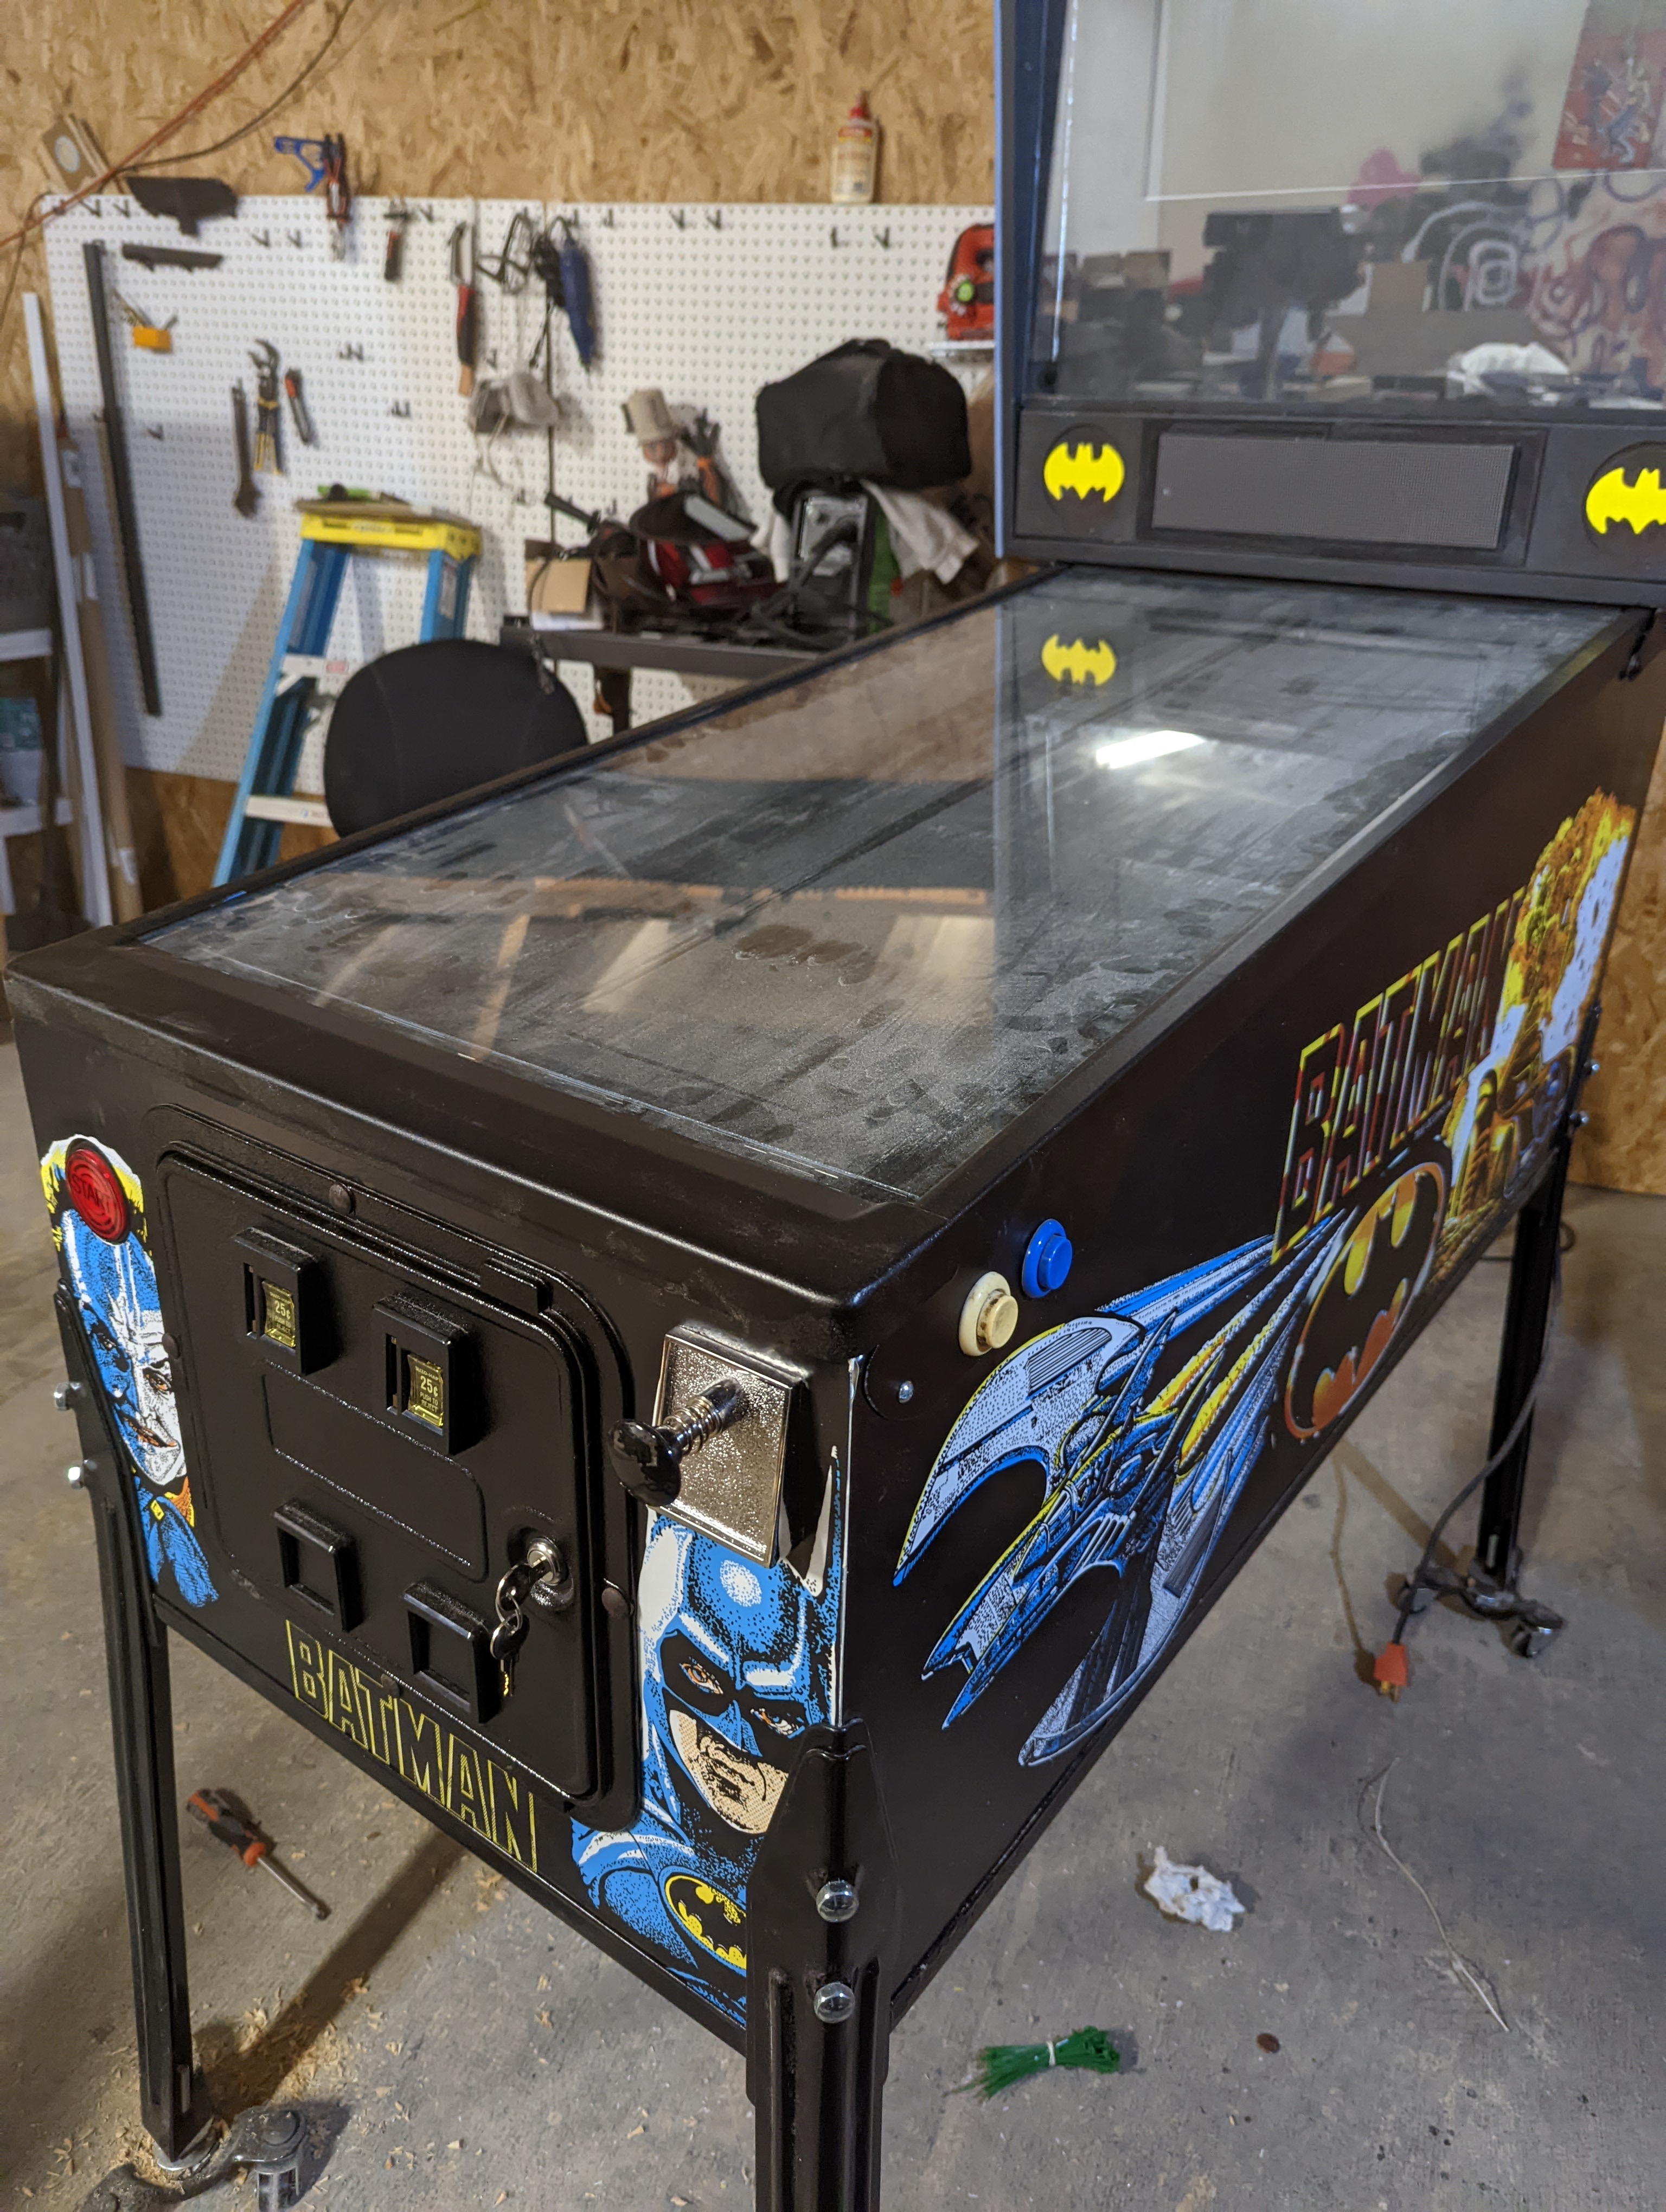
I got the new artwork from Retro Refubs. Theyre vinyl which kind of stinks compared to the original artwork. Don’t get me wrong, it looks absolutely fantastic but theres something about the original artwork being printed directly on the wood that I love (I dunno what that process is called).
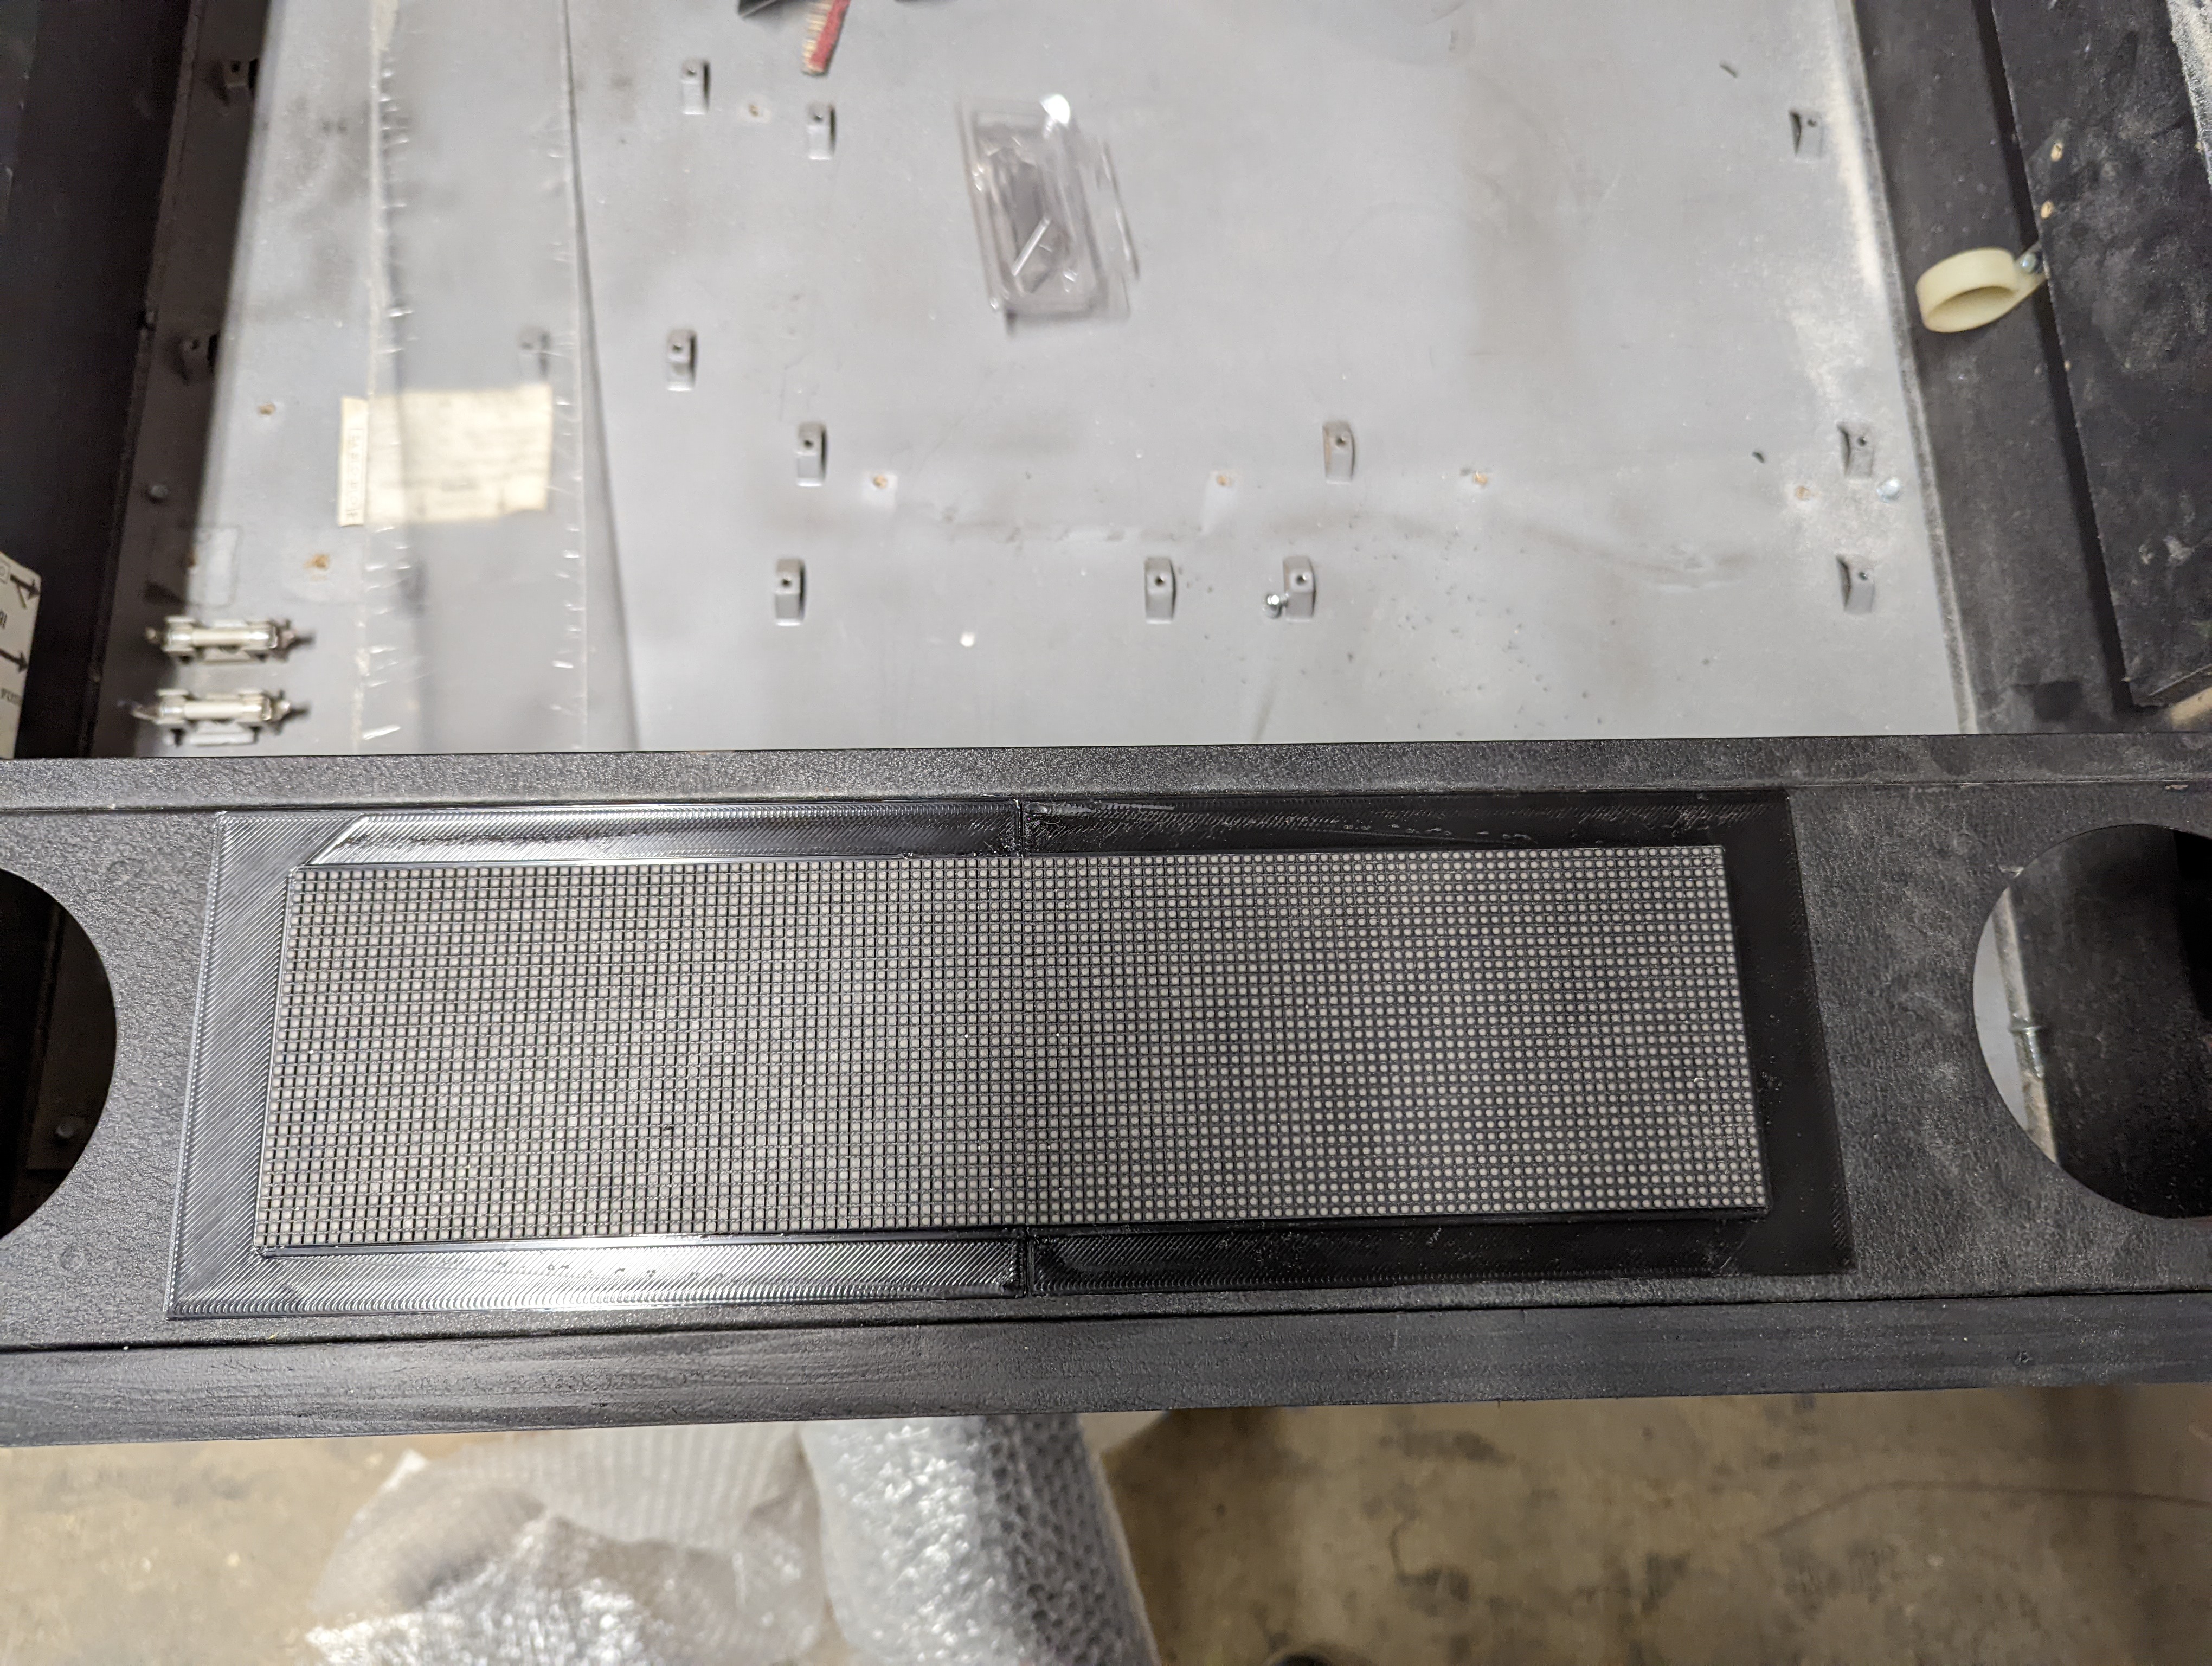
The front speaker panel was missing everything and the logo was obviously hand painted. I bought new grills and used an angle grinder to en-biggen the cut out for a PinDMD v3.

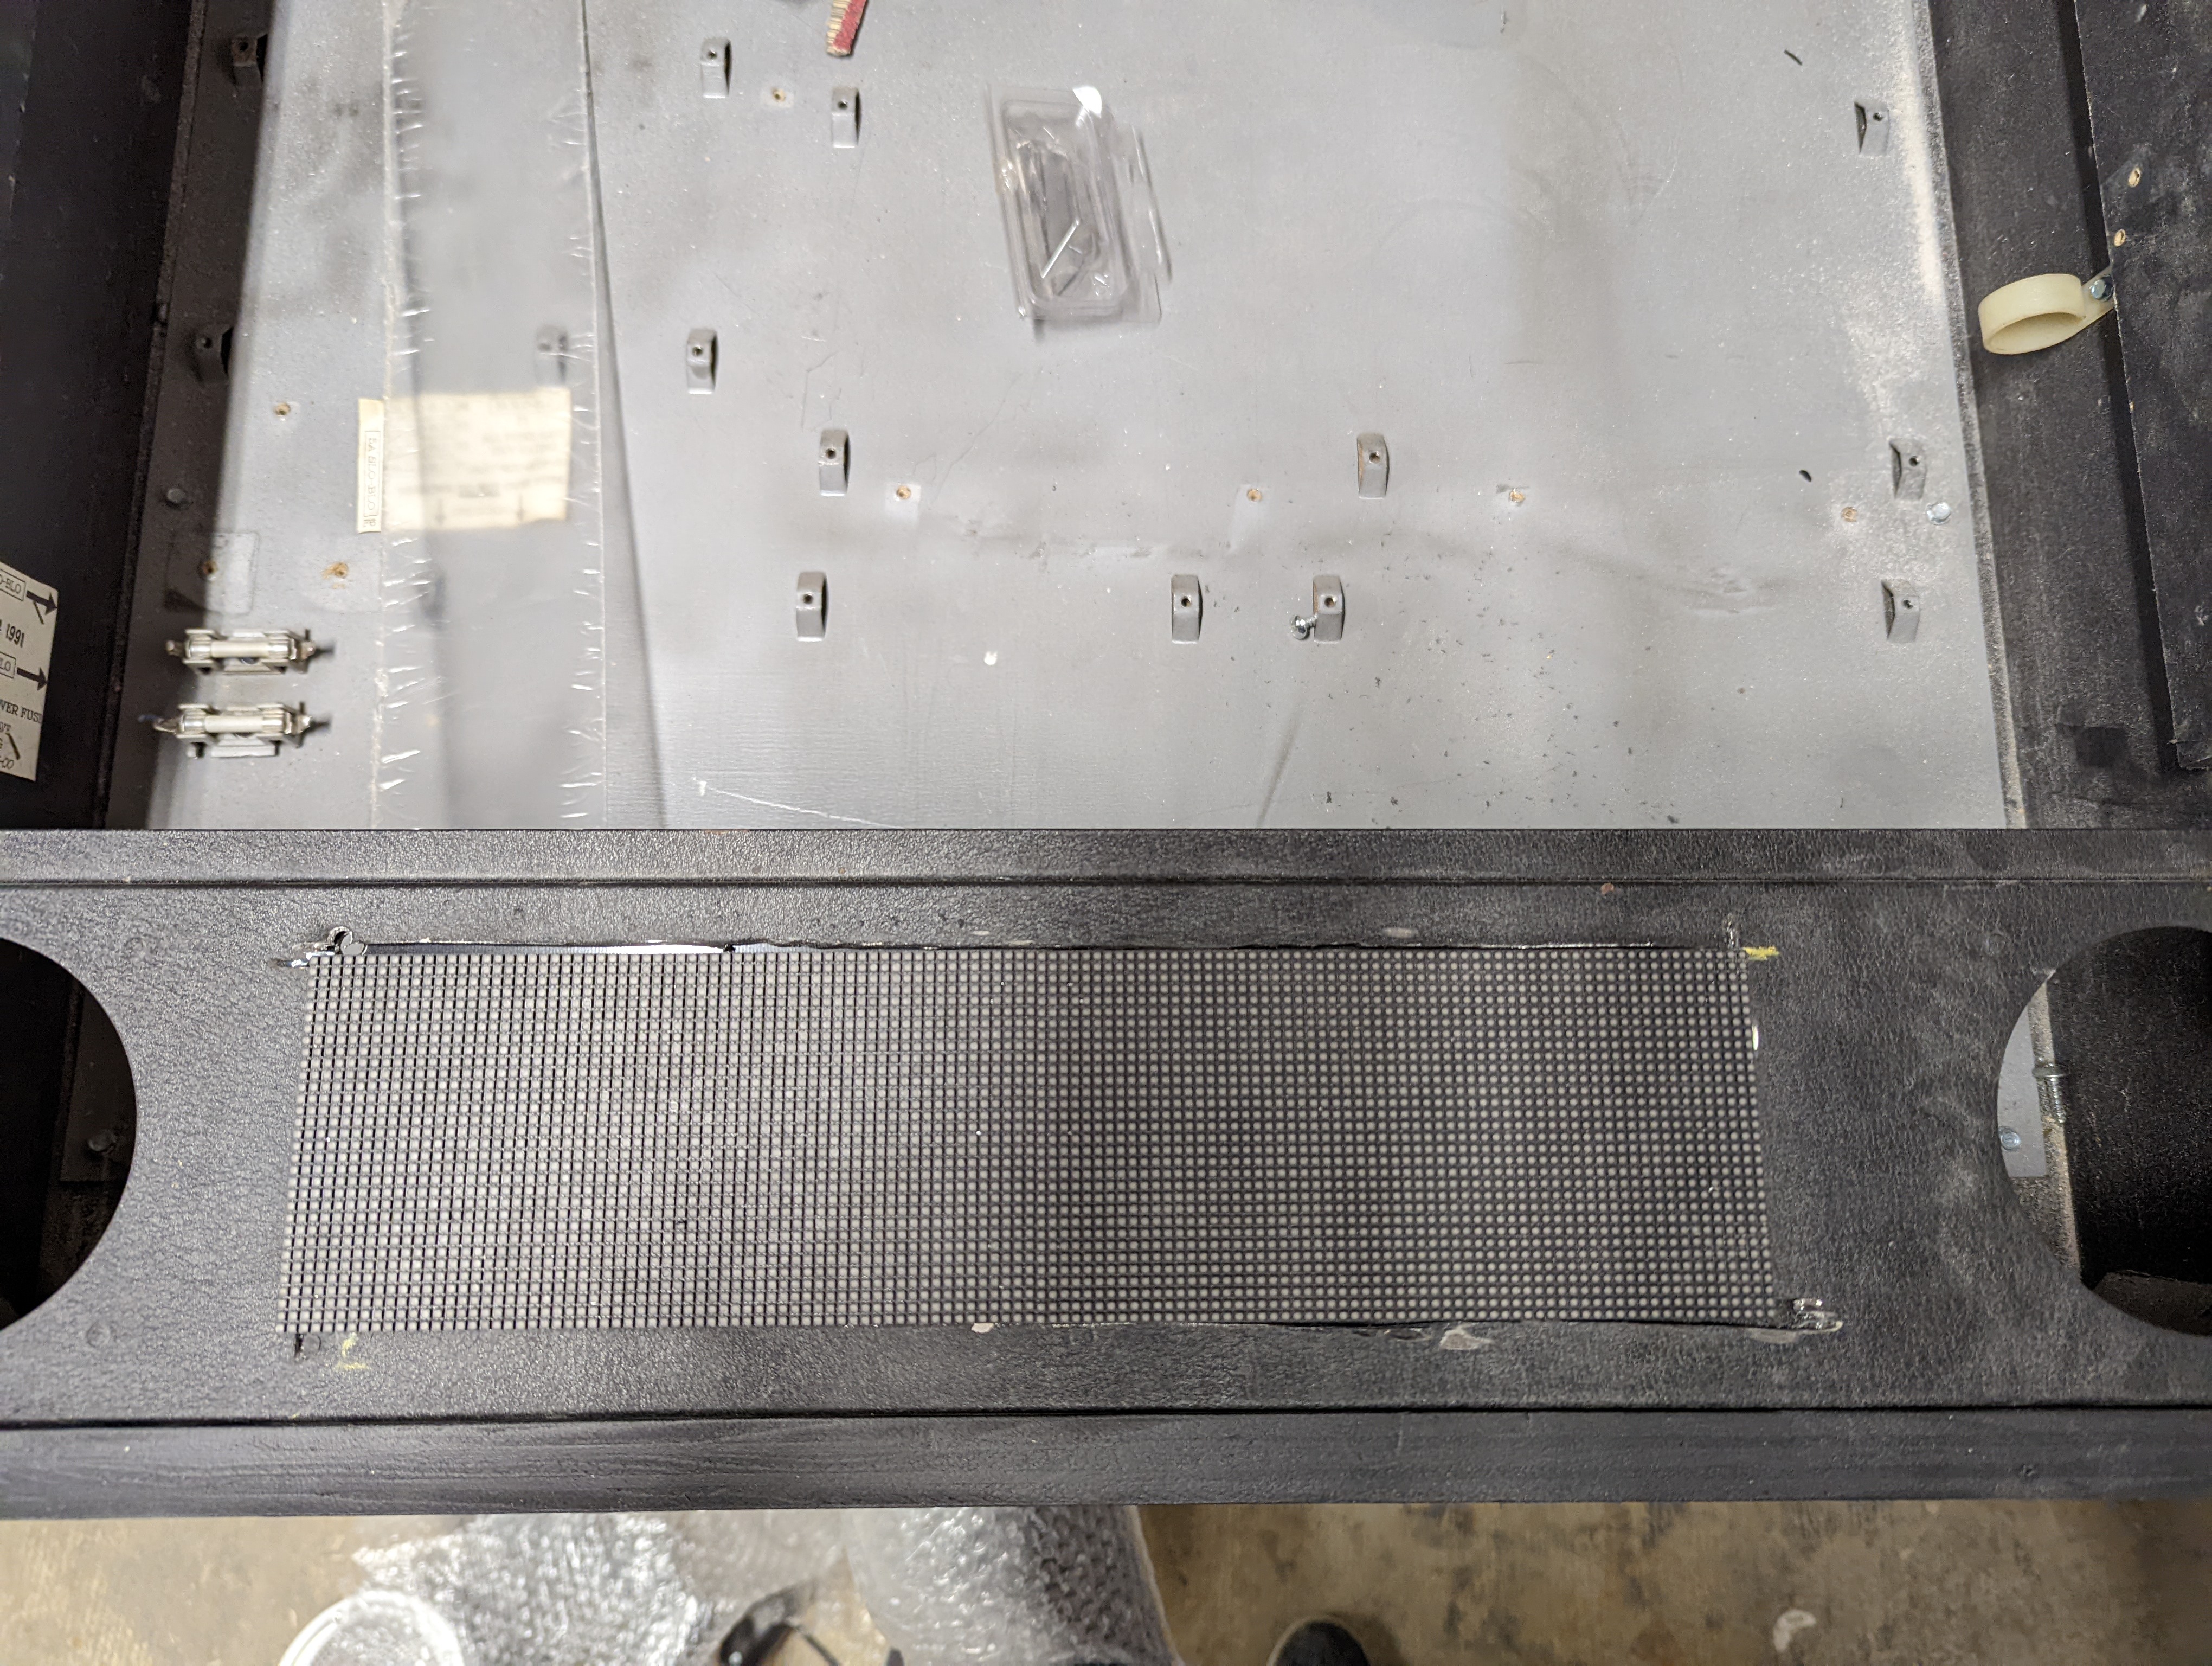
I did a shit job because angle grinder so after the DMD fit I 3d printed a bezel that came out looking great.
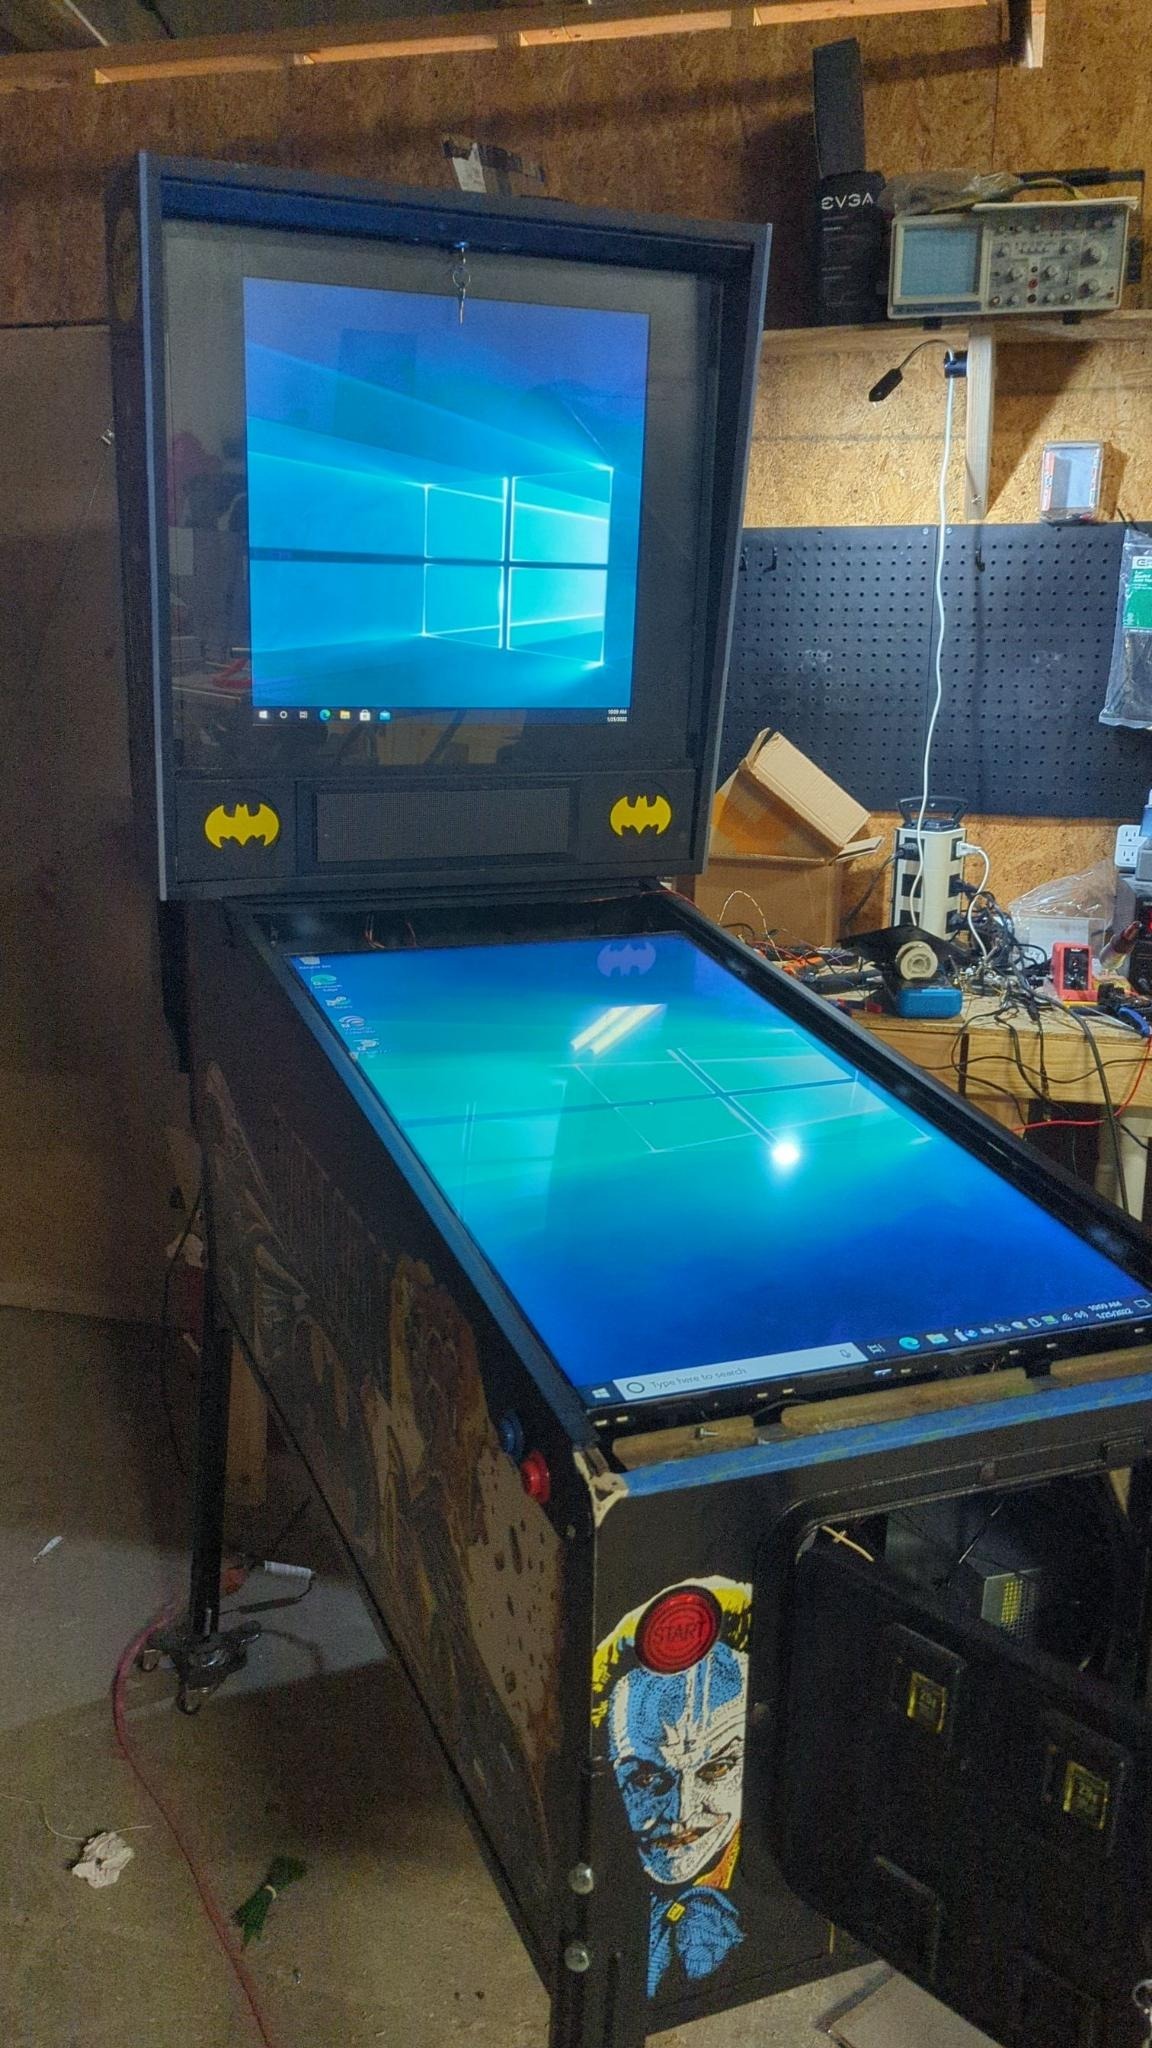
Next Was the screen.
I only had a 22” LCD and it came out just looking bad. There was so much wasted space due to the backglass housing being a near perfect square, so a rectangle left a ton of vertical space even though it was fairly large.
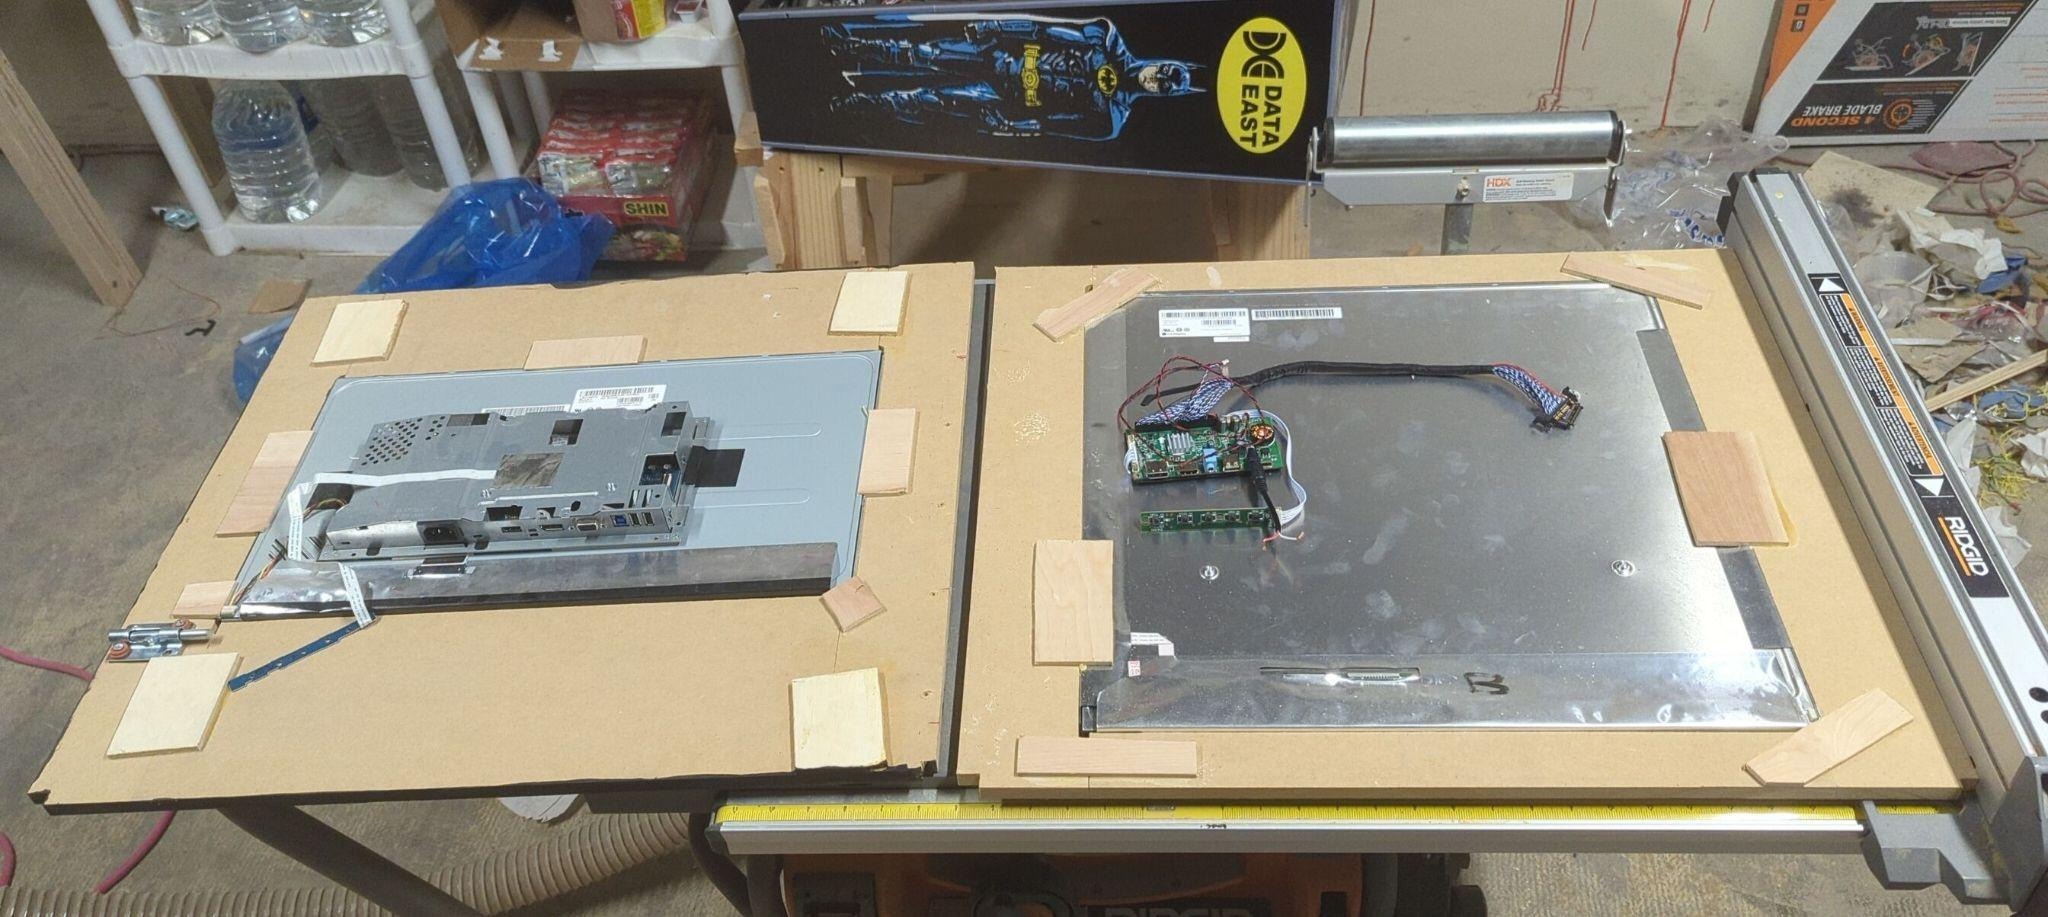
I used this time to research square LCDs. Turns out these are niche af. I ended up landing on a LM265SQ1-SLA1 which is 26.5x26.5” square but 1920x1920. I also ended up finding an unbranded 12V board that claimed to support that resolution and the same LVDS 4 channel 8 bit 92 pin connector. It worked out great. You can see the size difference between the original on the left and the LM265SQ1 on the right from the backside. It was also expensive as shit at roughly $500 for the screen + controller.
I then mounted it using the same bracket as before and a sliding lock and got a local glass shop to cut a custom tempered ¼” glass panel for it. It ended up a few millimeters too wide so its a total pain to get in but i was able to do it without shattering it.

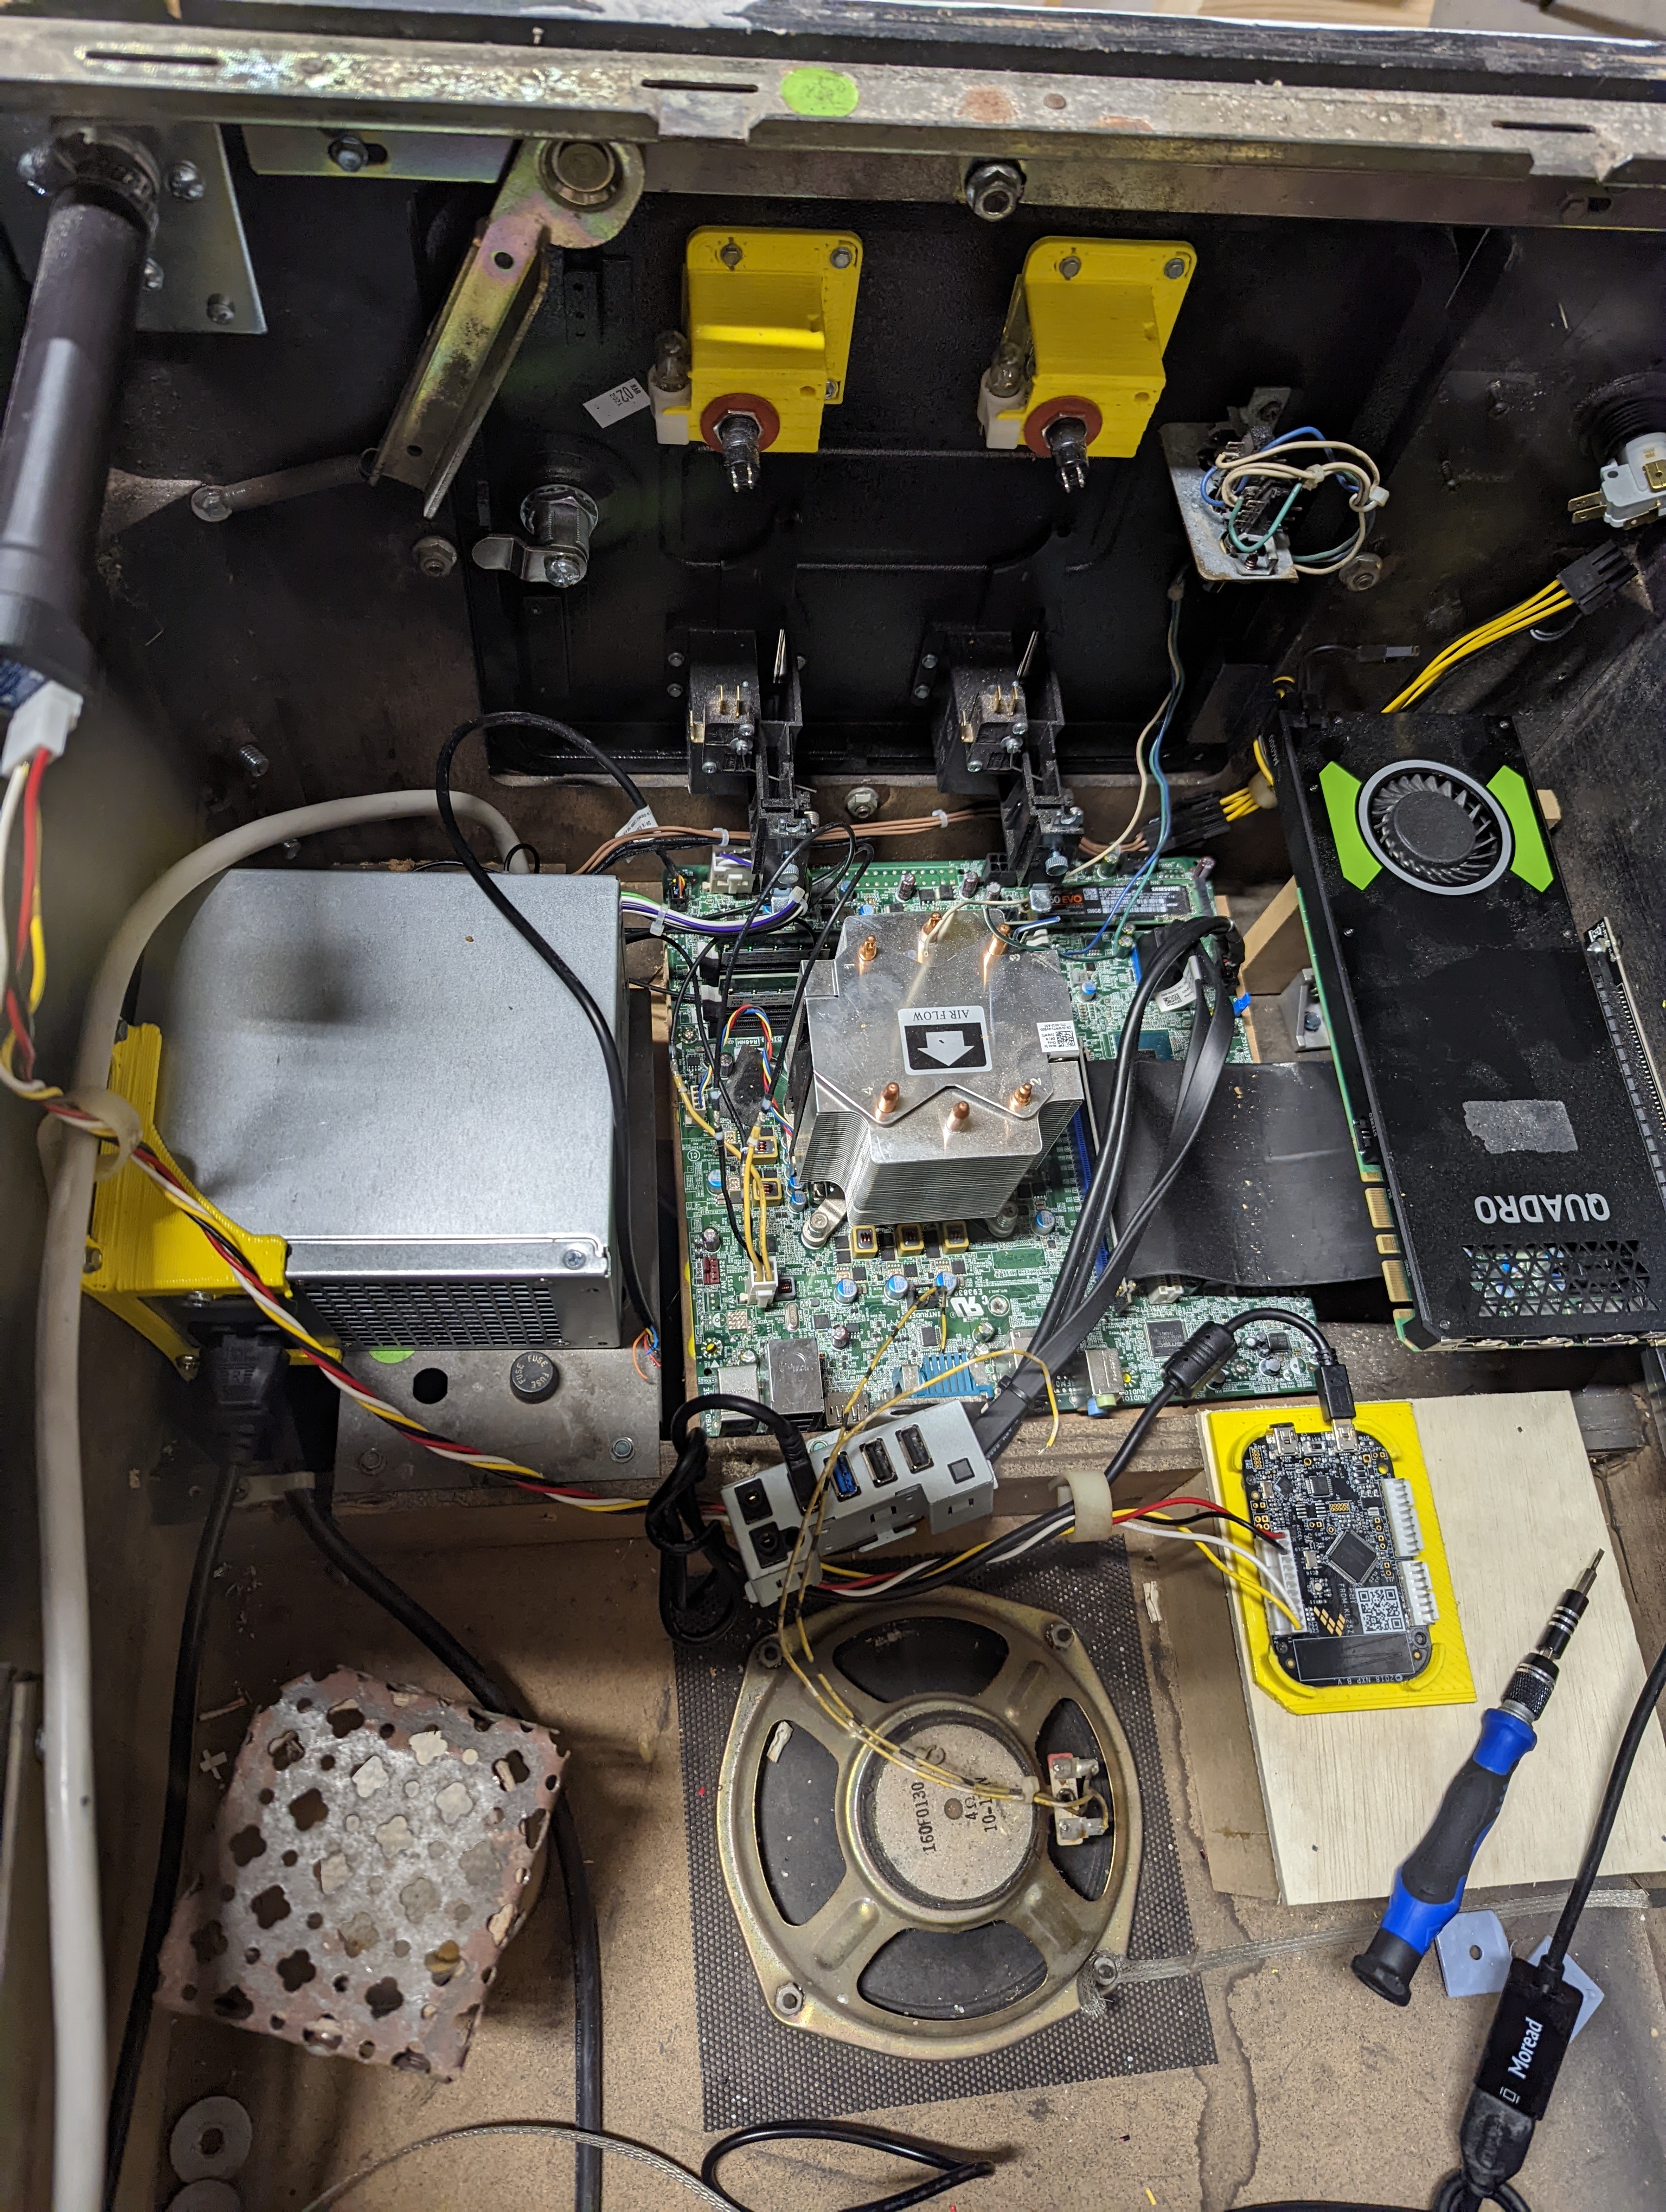
I then started putting a computer in it. I used an intel i5 with a quadro m4000 I happened to be sitting on. I originally mounted it normal but it did not work with the coin door and I really wanted the computer to be reachable where it was since it fit great.
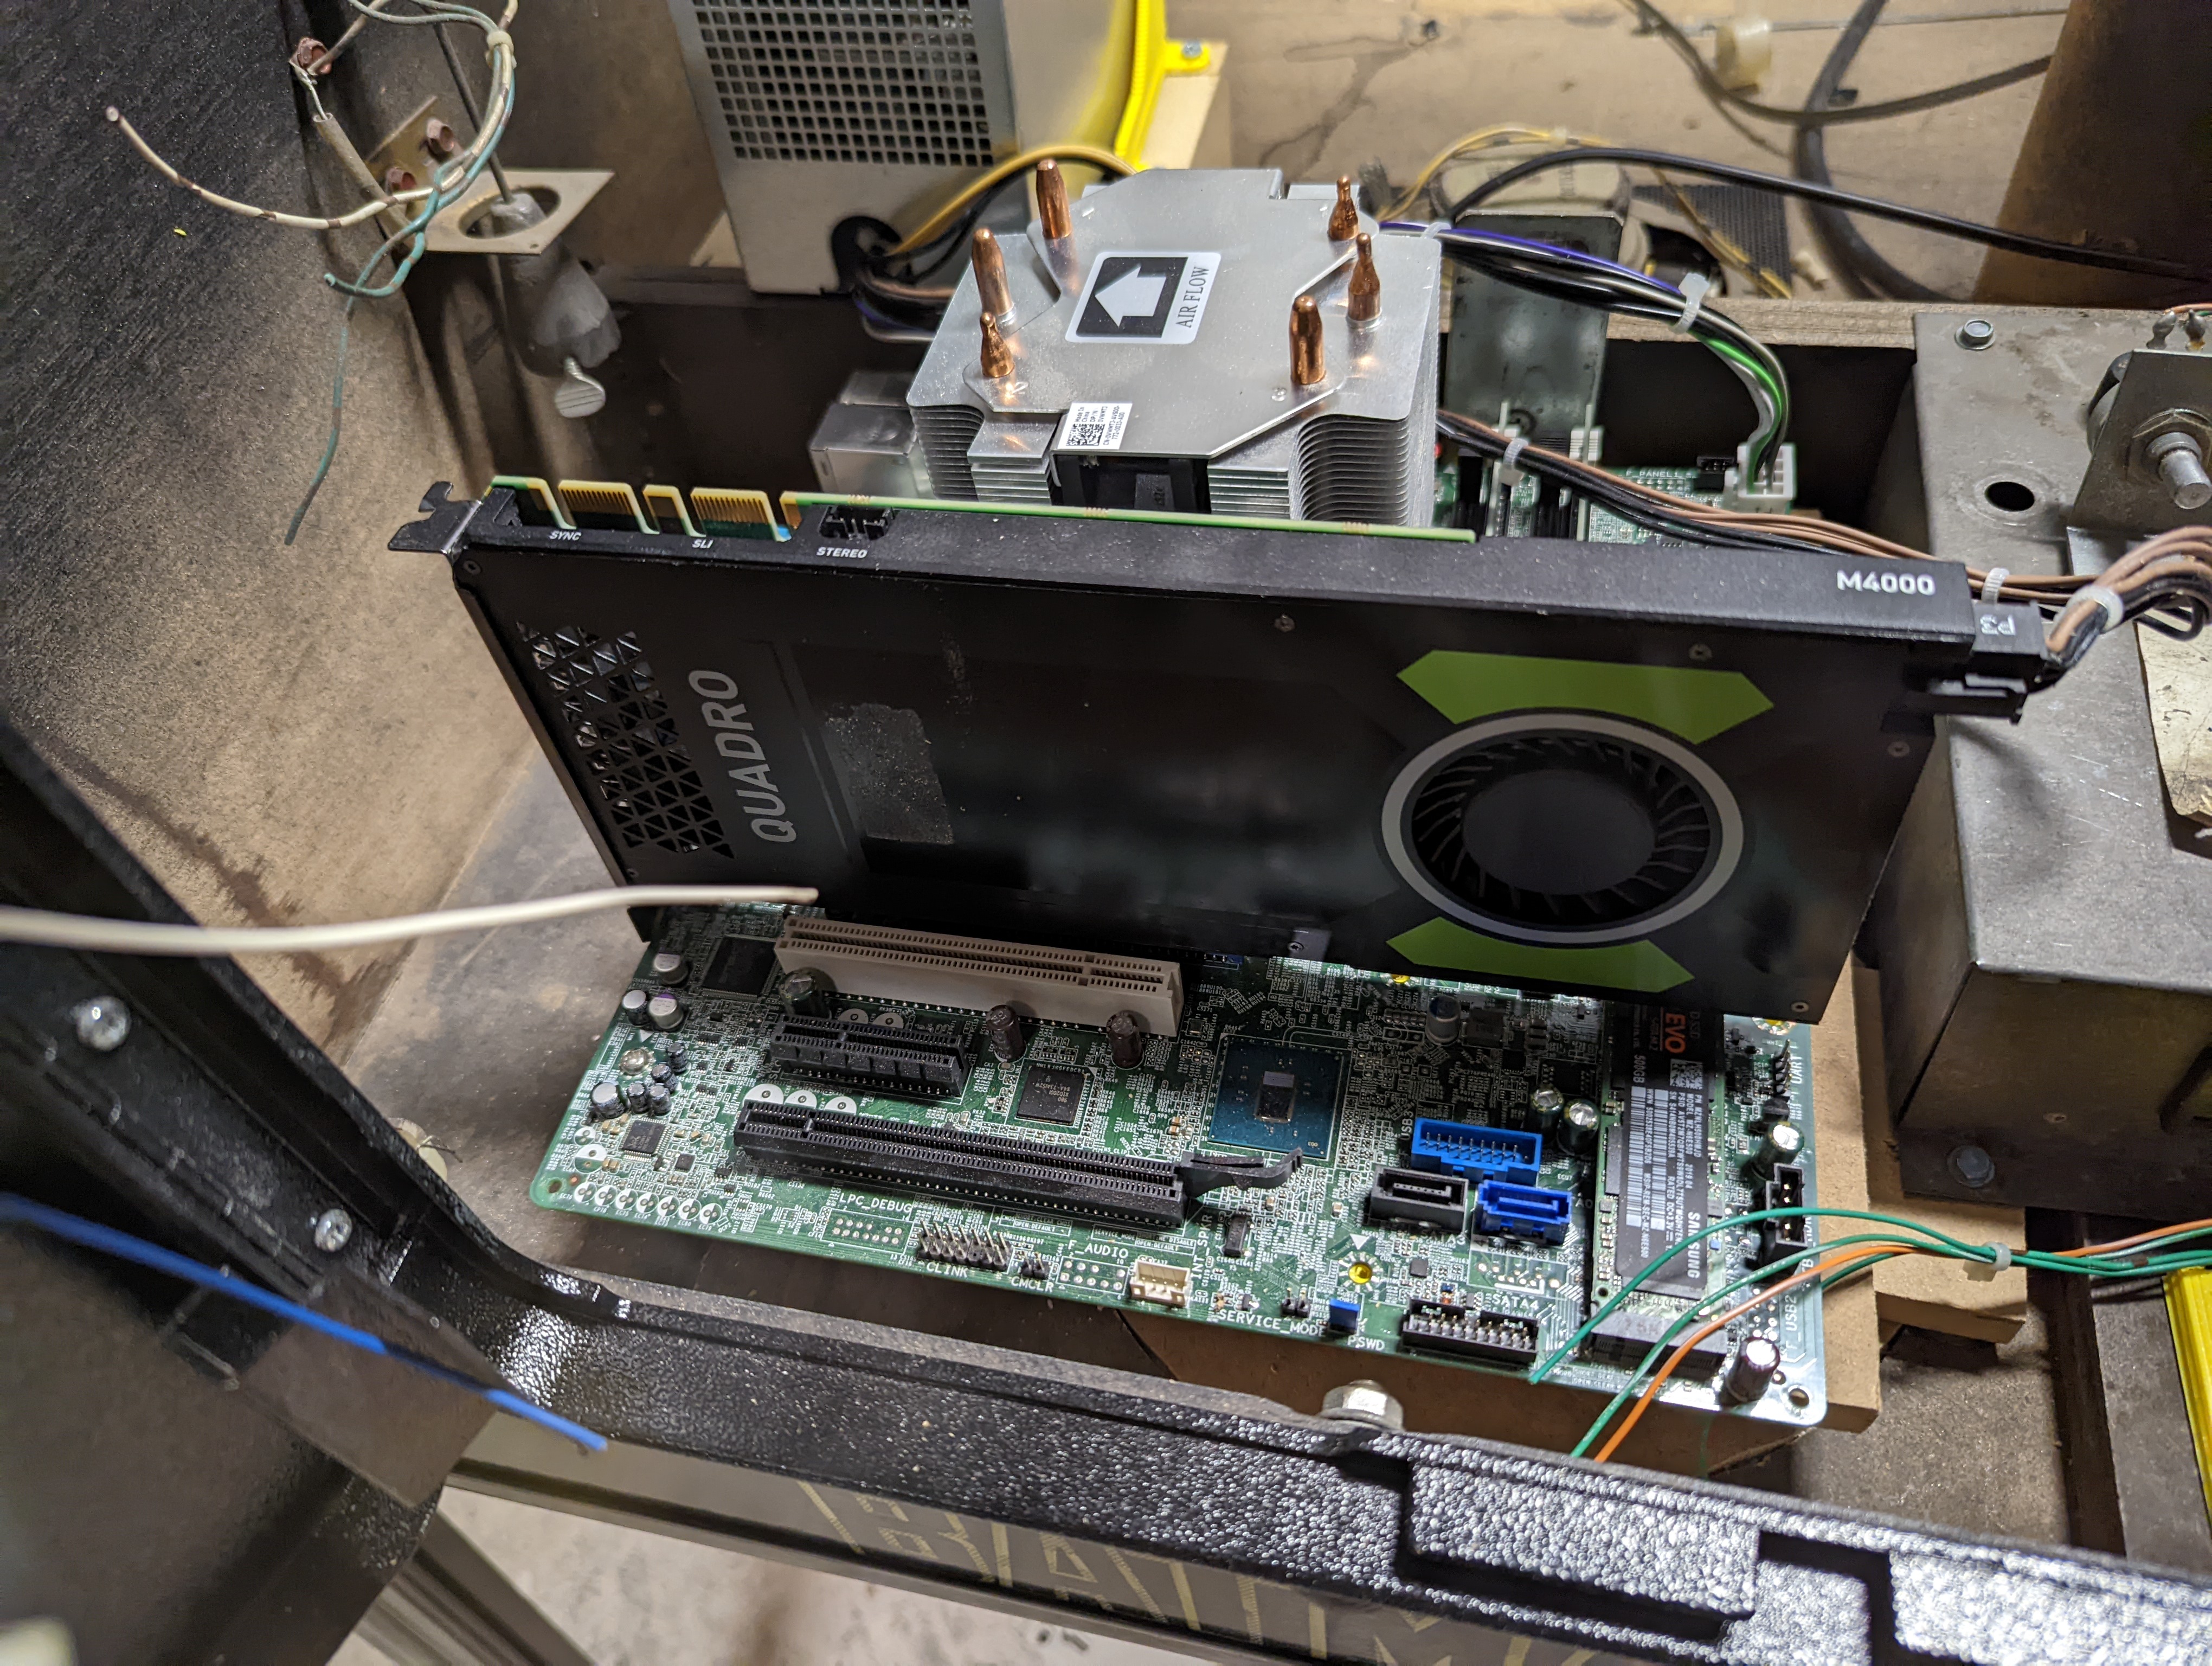
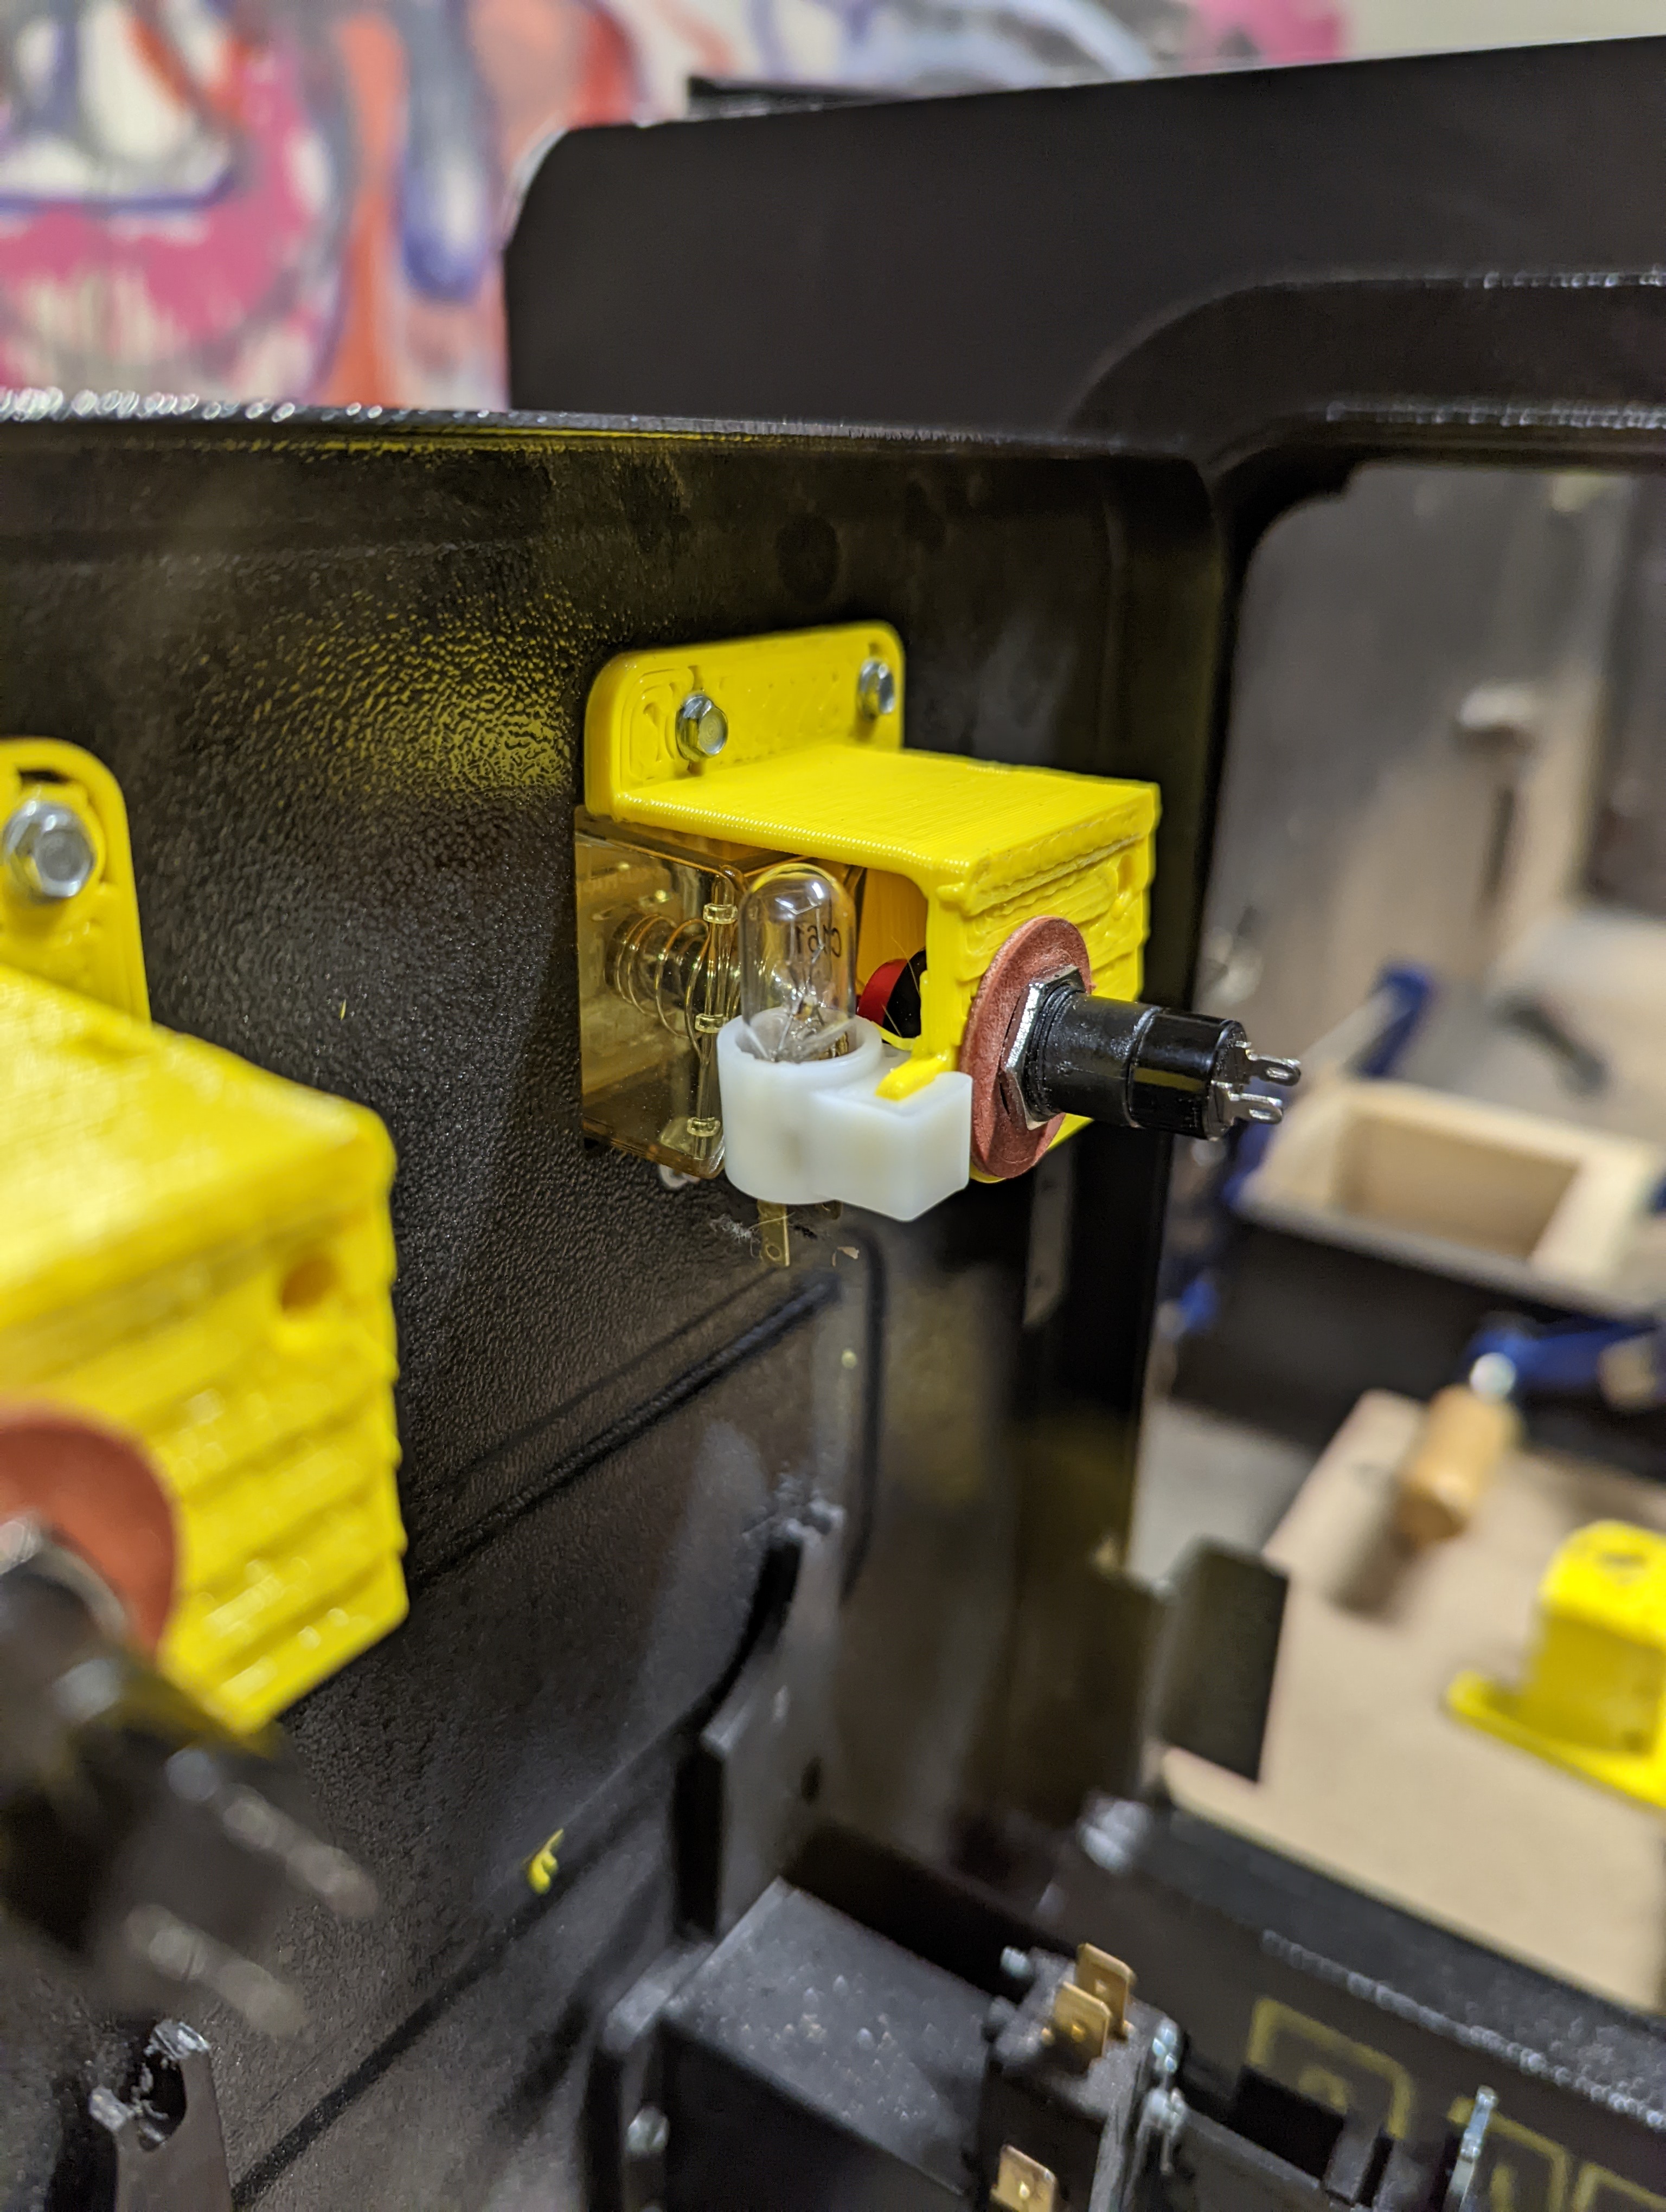
I ended up getting a PCI-e flex cable and mounted it to the side with a stand to survive gravity. I also 3d printed custom mounts for the power supply and coin buttons so i could mount momentary switches and use the coin buttons as inputs for the virtuapin controller + digital plunger.
Next I found a 46” TV that fit like a dream after removing the LCD from the panel. I ended up mounting it similar to this (not my pinball in this photo):
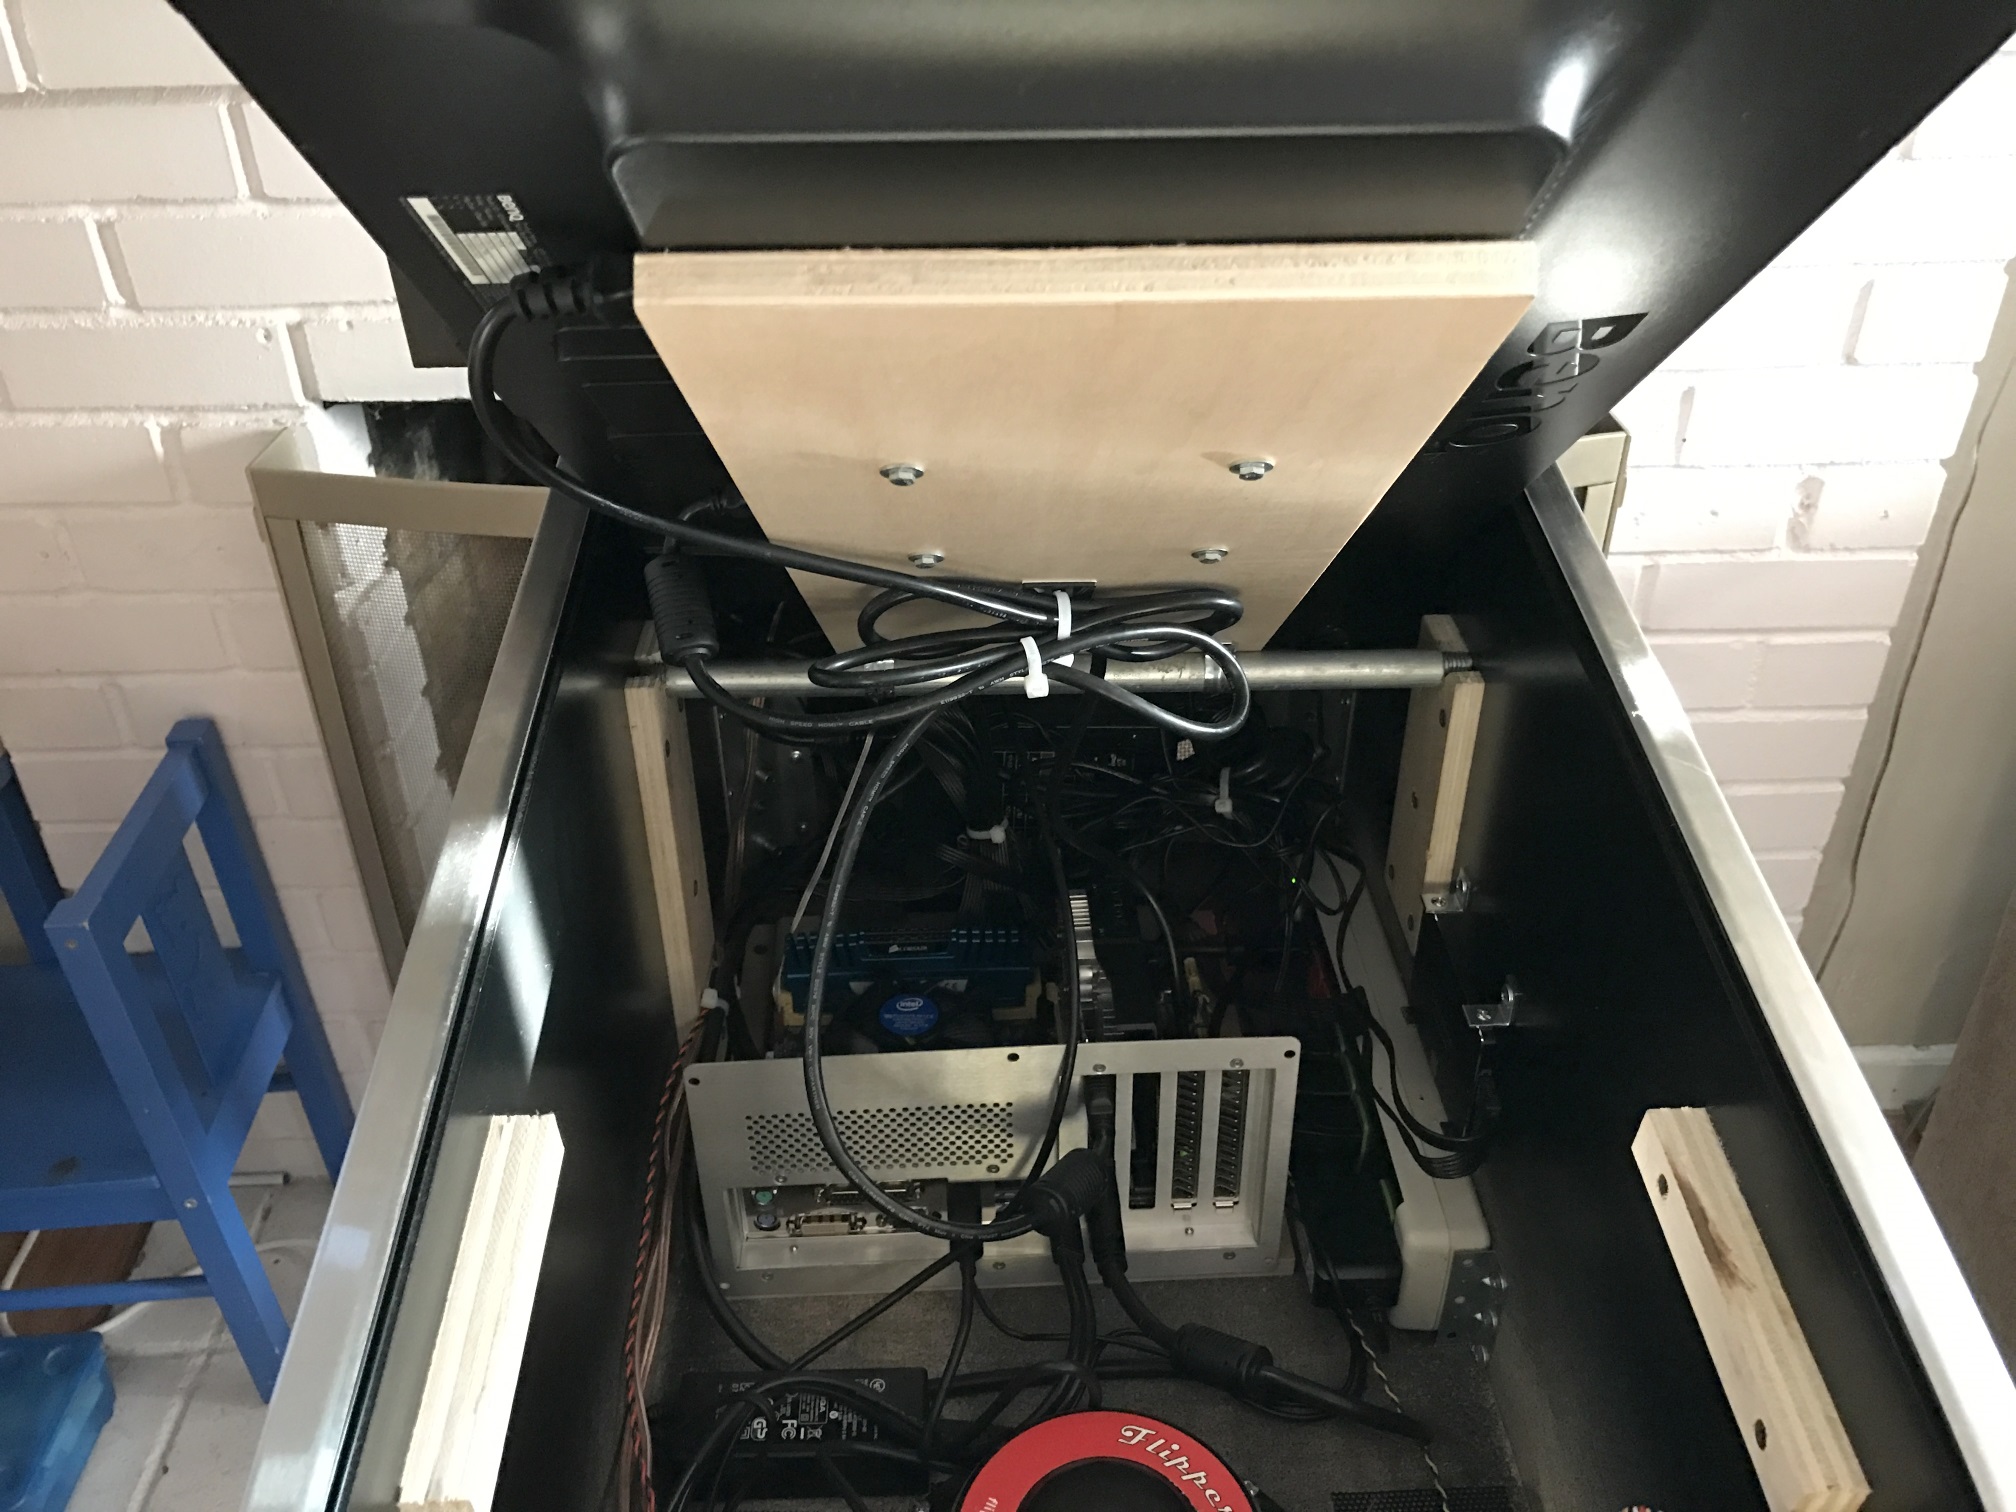
I ended up welding pipe mounts directly to the steel backing on the LCD. This was a risky move considering the … you know … electrical nature and heat of a welding machine but it worked. I went slow and just did a few tack welds then slid a galvanized pipe through it so I can lift it up for access. Then I built a bezel out of wood and vinyl wrapped it in black vinyl and laid the glass in.
Lastly I resin printed a bunch of custom L brackets (because I wanted them as tiny as possible and couldnt find any that were under 6mm wide). I resin printed about 24 of them at a time so it took a few days.
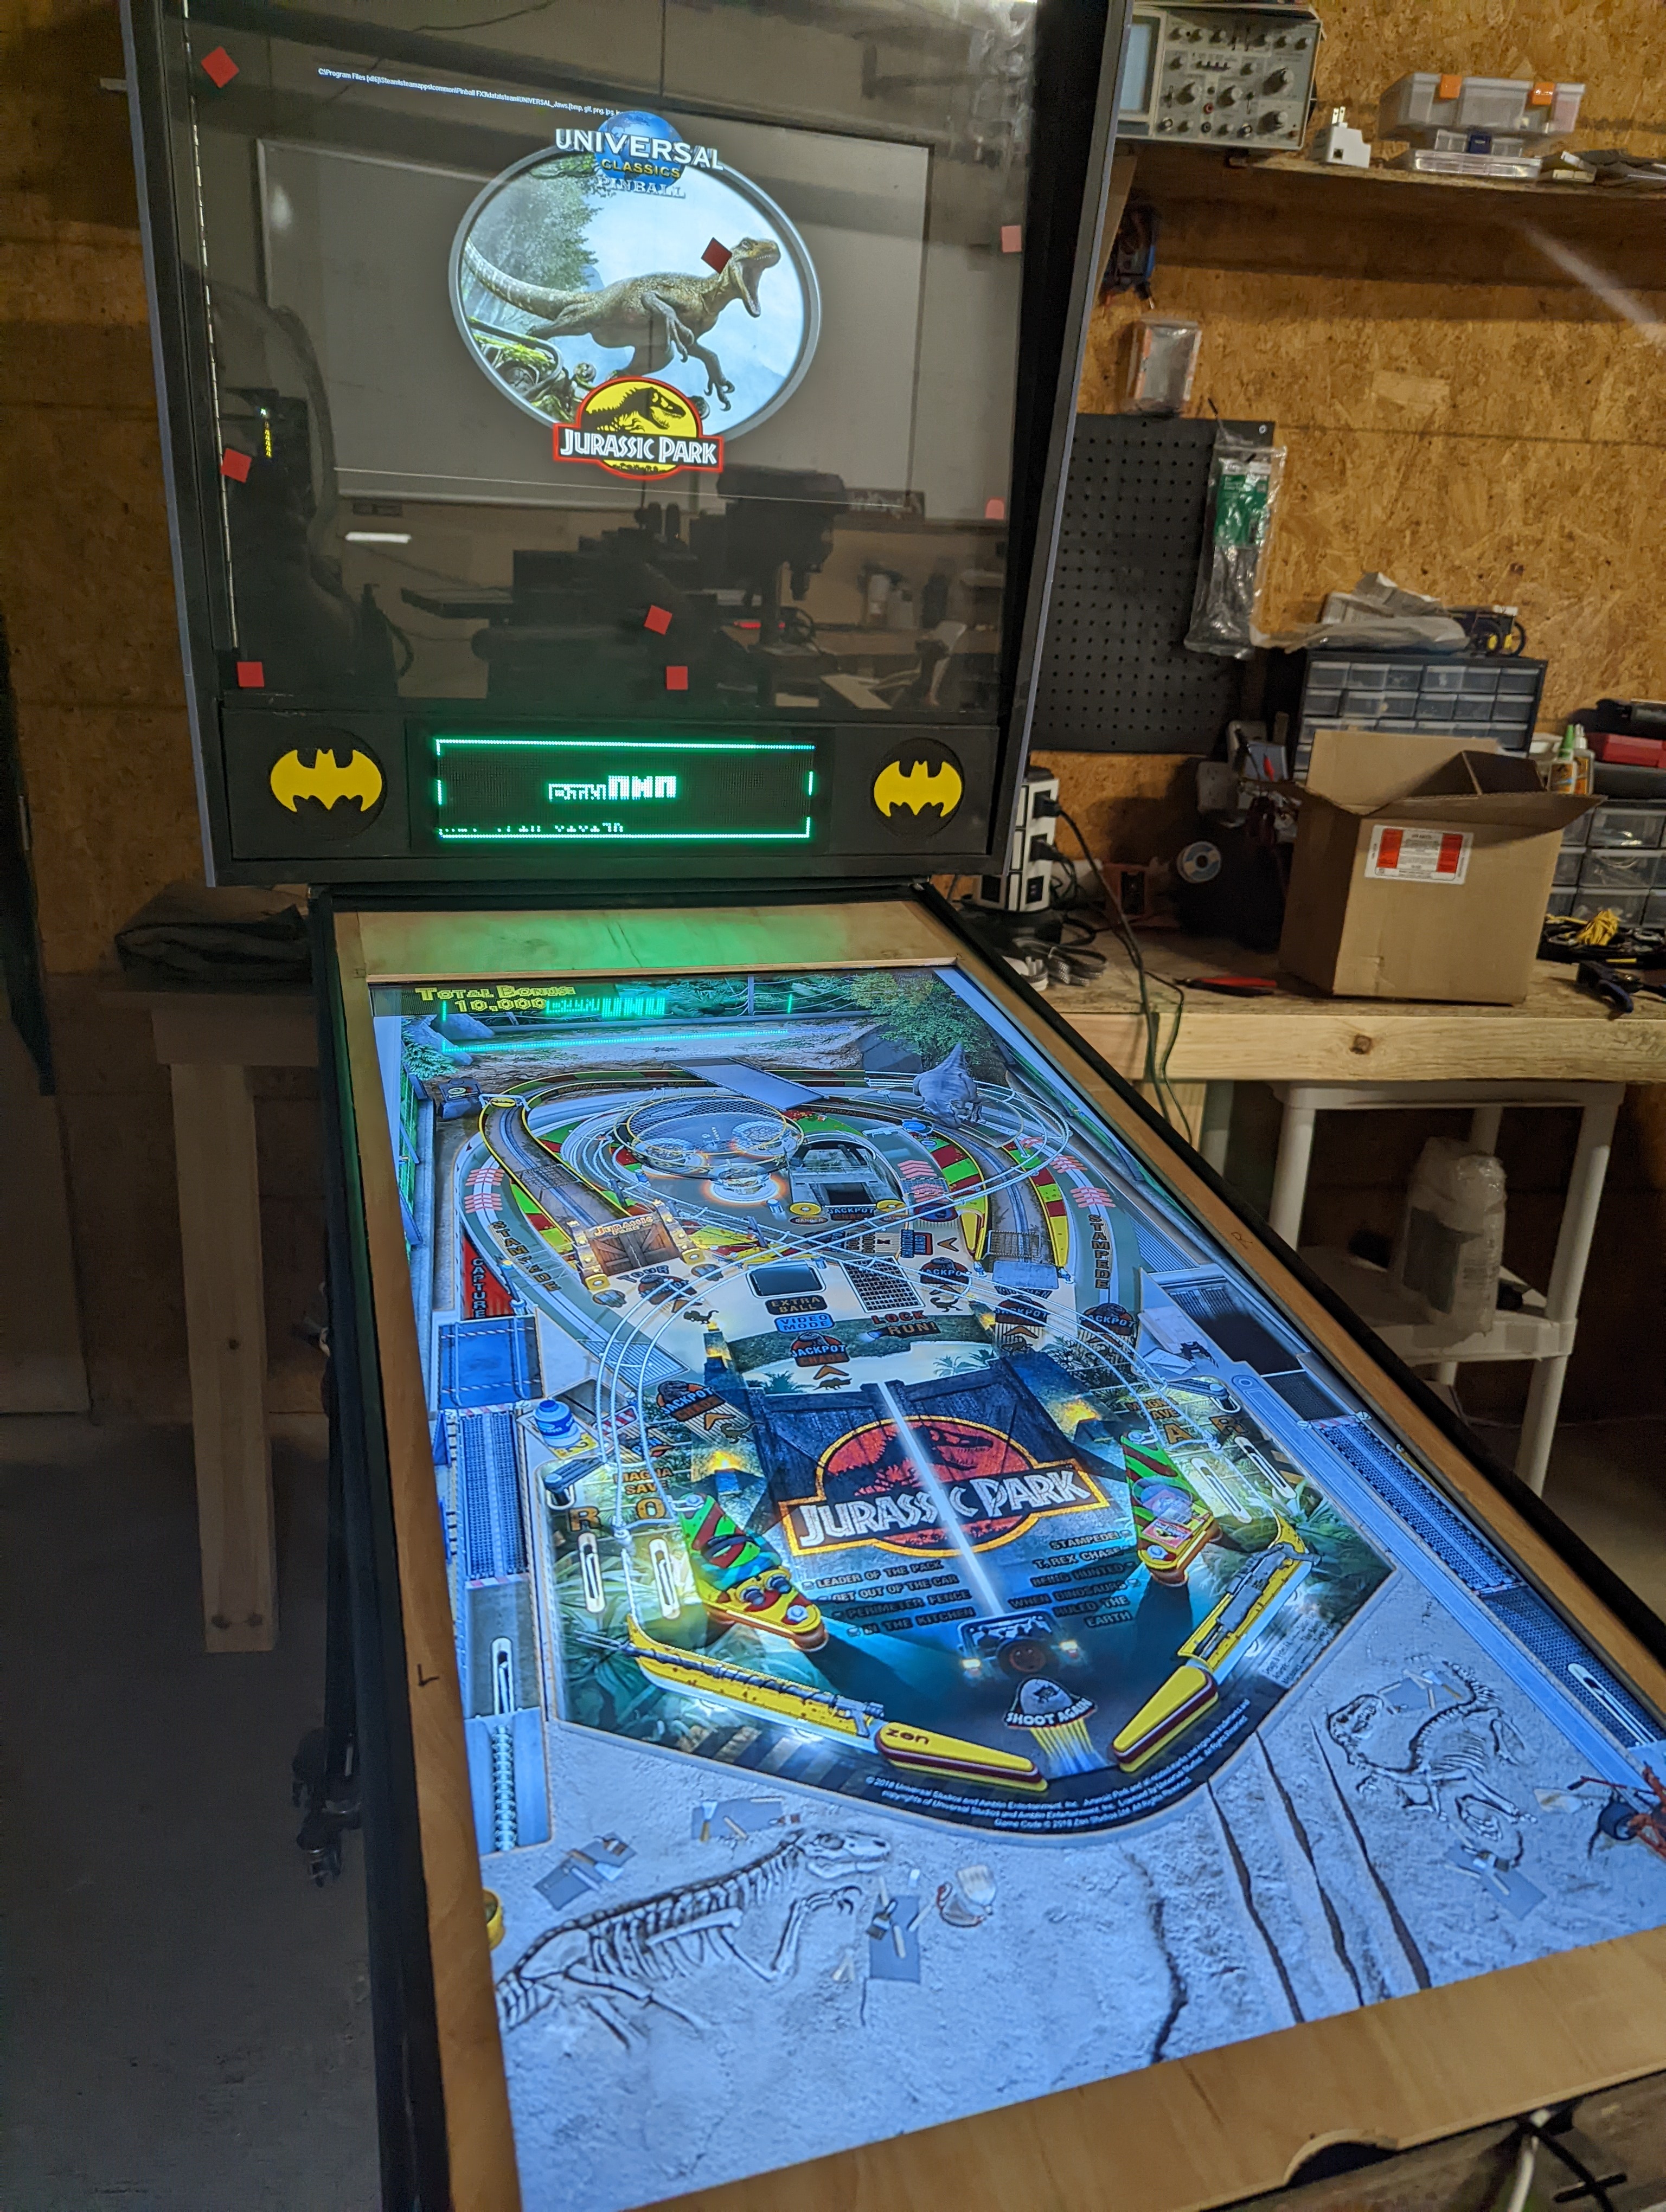
After carefully taking it home I set it up and put the Batman Returns lego Batmobile me and the kiddo built on top as a DIY topper
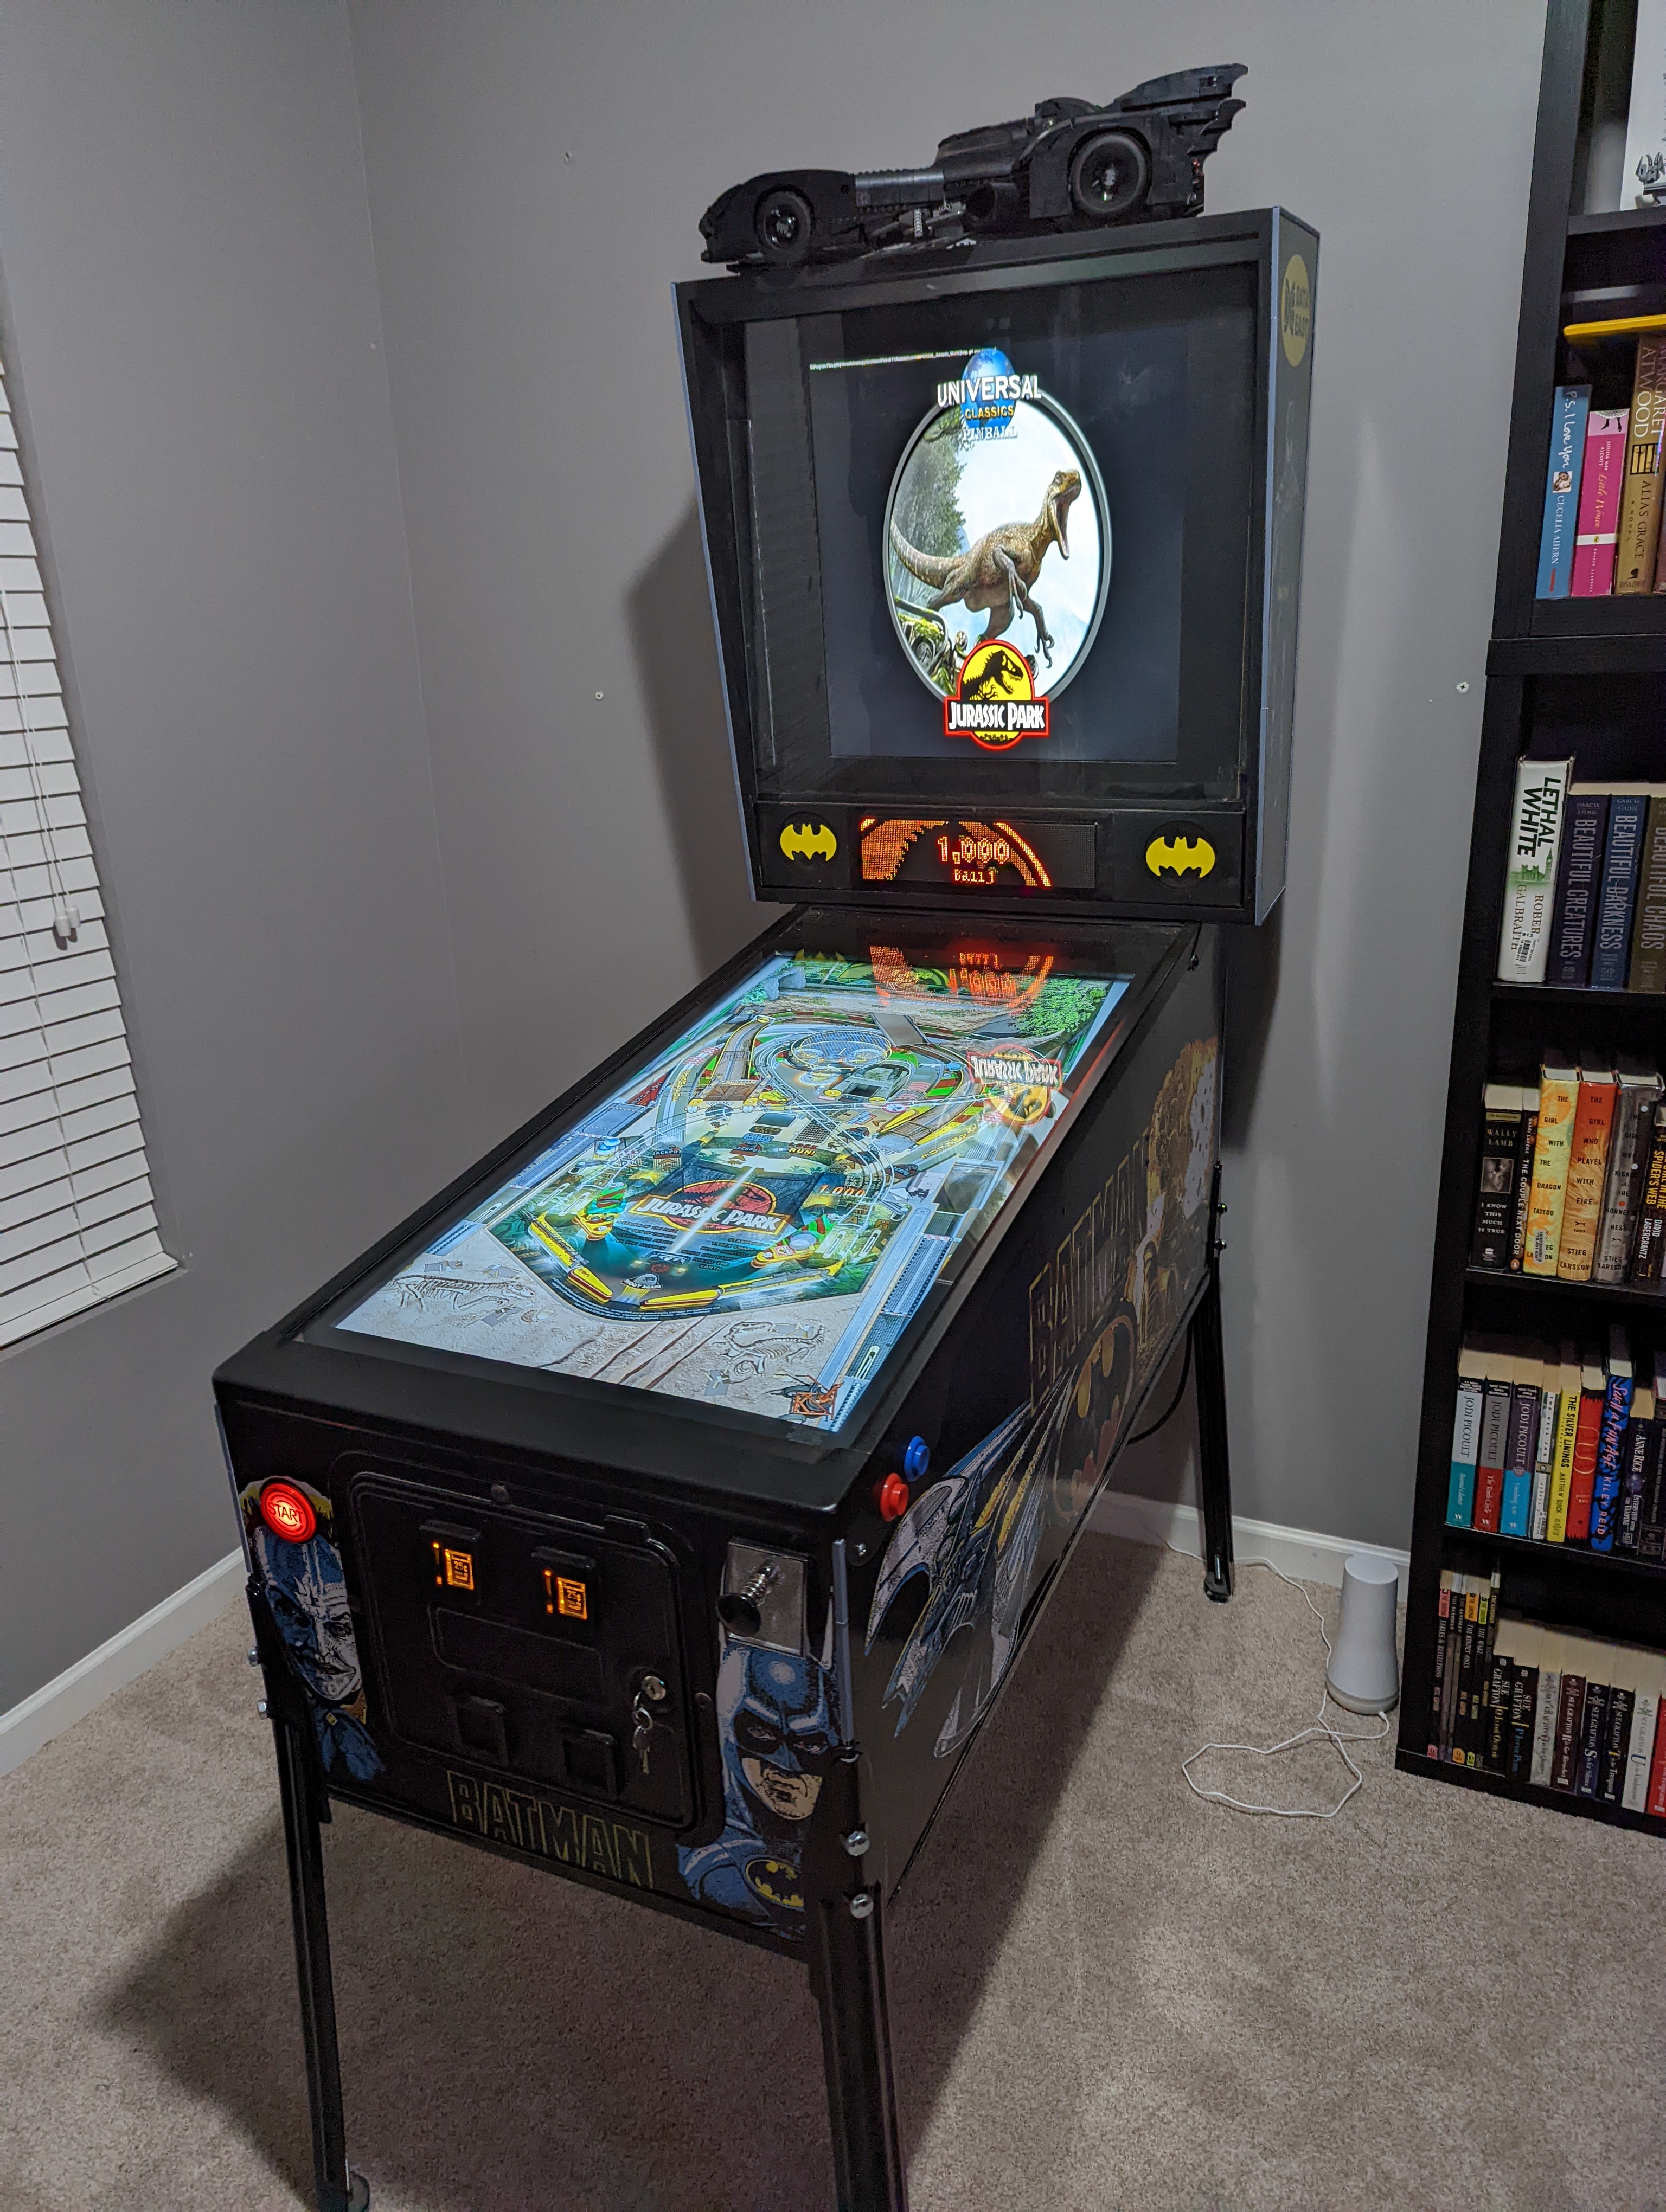
The software its running is still in progress but works great. Just turn it on and windows loads the PinballX front end that pulls in some Pinball FX3 games (cheesy but people that come over love it) and some VPX (which look almost real!) games like Johnny Mnemonic, Addams Family, etc. The bumpers and gyro all work great. I have a servo in there but it draws too much power if you press the bumpers too fast and causes the USB bus to falter and require a windows restart so I’ve not hooked it back up.
If youre curious here’s some of the parts list:
- Paid $50 Used - Vizio E461-A1
- Paid $300 - Batman Data East
- $200 - Data East Batman Vinyl Artwork
- $450 - LG LM265SQ1-SLA1
- $30 - LVDS controller
- $180 - Virtuapin Plunger kit + controller
- $75 - Data east coin door
- $300 - PinDMD v3
If I had to guess I spent roughly $1500 out of pocket. If I wasn’t sitting on parts it would be closer to $2200.